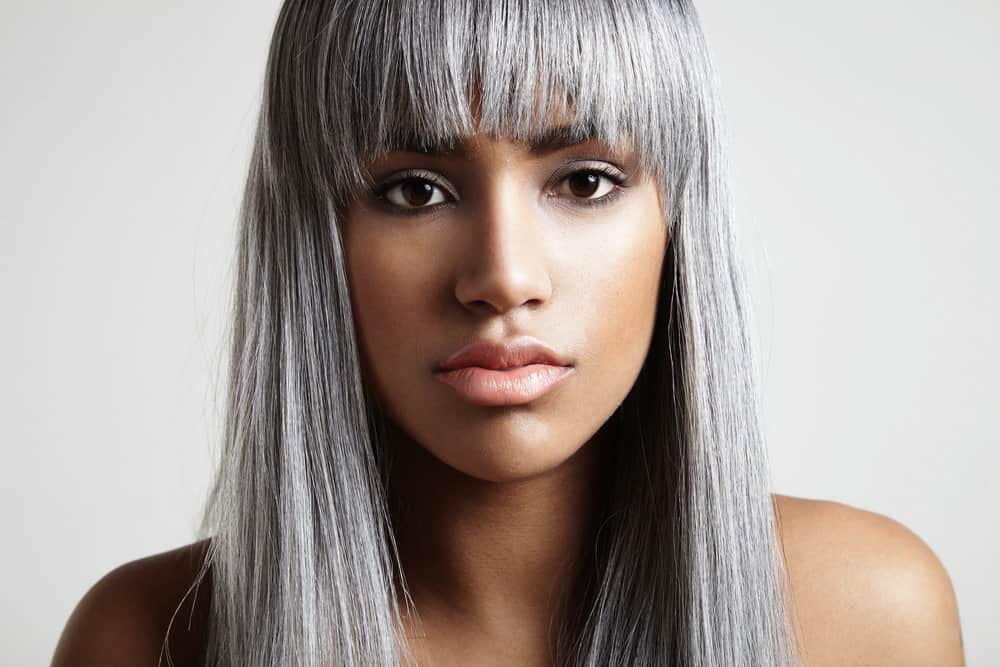
How should you transition to gray hair? Some people go all in and let their gray grow freely, embracing their gray mane and how it looks.
Others strategically highlight their hair to make it a bit easier on the eyes as they go through a "gray hair transition".
If the second option sounds better to you, this article will be super helpful.
In it, we will discuss everything you need to know about using highlights to transition to gray hair, including the highlighting process, pros and cons, dos and don'ts, and more!
Table of Contents
- 1 Transitioning to Gray Hair with Highlights is a Great Choice
- 2 Types of Highlights to Consider When Transitioning to Gray
- 3 Before Highlighting Your Hair at Home
- 4 How to Highlight Graying Hair: Step-by-Step
- 5 Pros and Cons of Transitioning to Gray Hair with Highlights
- 6 Dos and Don’ts of Transitioning to Gray
Transitioning to Gray Hair with Highlights is a Great Choice
One of the best things about highlights is that, when done right, they soften the line of demarcation that you get when your grays grow in. They also give you control over the graying process, allowing you to ease into it.
If you don’t want to color your grays or walk around with gray roots, highlights are an ideal way to ease into the process. And as a bonus, highlights can add a lot of depth and dimension to your hair, making you look more vibrant and youthful.
What Does Highlighting Entail?
Whether at home or at the salon, highlights typically involve applying lightener to the hair in strips or sections. The lightener is then allowed to process before being rinsed out.
If there are any unsightly yellow tones after the lightening process, toning is the logical next step. After that, a gray dye is applied to give you your final hue.
Types of Highlights to Consider When Transitioning to Gray
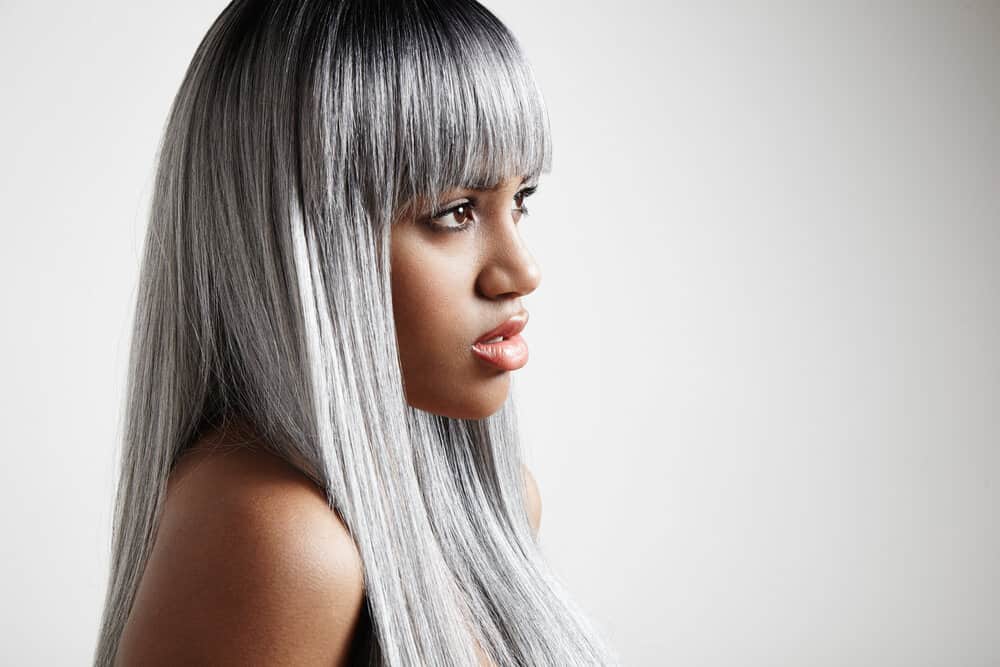
There are a few different types of highlights that you might want to consider when transitioning to gray hair. We’ll get into these in the below list.
- Chunky Highlights - Chunky highlights are applied in large sections with foils for a super impactful look. This type of highlighting is best for those who have a lot of natural gray strands and want to make a big impact.
- Balayage Highlights - Balayage highlights are applied in a more natural way; the lightener is brushed on by hand, and there are no foils involved. These highlights are best for those who want a subtle overall look.
- Ombre Highlights - Ombre highlights are applied in a gradient, with the lightest color at the tips. It’s a super trendy highlight type that people everywhere love.
- Babylights - Babylights are super thin highlights applied throughout the hair. This type of highlight is suited to anyone who doesn’t have many grays and wants a natural-looking transition to gray hair.
The type of highlights you choose will ultimately be up to you and will depend on the end result you're hoping to achieve.
Before Highlighting Your Hair at Home
If you're thinking about transitioning to gray hair via highlights, you might wonder if you can do it at home. The good news is that highlighting your hair at home is possible!
However, you should keep a few things in mind before getting started.
- Highlighting at home is not easy. It's important to remember that highlights can be a bit tricky. If you're not careful, you could end up with results you're not happy with. You should also know that getting a professional-looking highlighting result at home is rare. If you're hoping to achieve salon-quality highlights, it's best to leave it to the professionals. However, if you're okay with results that aren't 100% perfect, doing your highlights at home can be a great option.
- Highlighting takes some time. From start to finish, highlighting your hair can take 3 hours or more, although this can vary depending on your hair’s length and thickness. It also depends on who’s doing the lightening. If you’re doing it yourself, expect to be at it for a while.
- There’s a learning curve to highlighting. If you're new to highlighting your hair, don’t jump in headfirst. If you mess things up, you could end up in a stylist’s chair for a color correction service. So, it’s a good idea to practice on a small section of hair before you go all in. This will give you a snapshot of your results and a chance to fix small issues before they become huge problems.
How to Highlight Graying Hair: Step-by-Step
You've now got a solid understanding of the highlighting process and how it can help you transition to gray hair over time. So, let's get into how to highlight your graying hair at home.
Be sure to read all the steps so you don't miss anything important. Let's get into the steps below.
Step 1: Plan Out How You're Going to Highlight Your Hair
Depending on your hair's current graying pattern, one type of highlighting may work better for you than another.
- For minimal gray - Start by doing highlights along your hairline. This has a face-framing effect for a nice, youthful look. As your gray hair starts to become more prominent, you can add highlights throughout the rest of your hair. Doing so will help blend your gray hair with the highlights and give you a more natural look.
- For lots of gray – Color all of your hair gray and add strategic highlights for some dimension. When your natural grays start to come in, you can go back and highlight them if needed. This makes for a seamless transition with minimal bad hair days.
- For sporadic grays - Babylights are your best bet. They are subtle, but they provide a camouflaging effect to help your grays blend in as they grow out.
Step 2: Gather Your Materials
Most people highlight their hair at home using a boxed highlighting kit. These kits have everything you need to get the job done, including color, developer, an applicator brush, and instructions.
If you're looking to lighten your hair a few shades or add subtle highlights, then a boxed highlighting kit is a good option.
However, if you're looking for a more dramatic change, you may need to invest in the below supplies separately and mix up your own concoction.
In that case, you'll need:
- Bleach and Developer – We recommend using a 20 or 30-volume developer with your bleach. 20-volume will work for people with light brown hair or lighter, and 30-volume will help you go from black or dark brown to gray.
- Toner – Toner should be used to neutralize unwanted yellow tones in your hair and create a more consistent look. You’ve got a couple of options when it comes to toning. You can either use a toning conditioner or a chemical toner designed to be used with developer. Either option utilizes purple pigments to cancel out the yellow tones in your hair. But after putting your hair through the wringer with bleach, we recommend using a toning conditioner vs. a chemical toner. The conditioner will be much gentler on your strands.
- Gray Hair Dye – You’ll need to apply a semi-permanent hair dye over the lightened sections to get the gray hair color you want. Make sure the gray you choose is close to your natural gray color. Otherwise, when your natural gray hair comes in, it'll be painfully noticeable. You can choose whatever gray hair color you want if you don't mind continual coloring sessions.
- A bowl and brush for applying bleach/color – You can use a regular plastic bowl from your kitchen or invest in an actual mixing bowl made specifically for hair color. Once you put chemicals in one of your bowls, don’t use it again for eating. As for the brush, you'll want to use an applicator brush designed for highlights. These brushes have stiff bristles that help evenly distribute color.
- Clips – You'll need these to keep the sections of hair you're not working on out of the way.
- A cape or old towel – You don't want bleach or hair color stains on your clothes!
- An old t-shirt that you don't mind getting ruined – This is necessary just in case your towel/cape doesn't catch all the mess.
Step 3: Prepare Your Space
Now that you have all your materials, it's time to prepare your space. Choose a well-ventilated area in your home where you can work without distractions.
If you're doing your highlights in the bathroom, open the window and turn on the fan. Lay down an old towel or some newspaper to protect your surfaces from bleach, toner, or dye splatter.

Step 4: Examine and Prep Your Hair
Before you start the highlighting process, you need to prep your hair. Here are some preparatory steps you shouldn’t skip:
First, ensure your hair is free of debris and buildup that could affect the coloring process. If it’s not clean enough, you should shampoo your hair and then wait at least 48 hours to color it.
If it's been more than 48 hours and your hair is not visibly dirty, you're good to go through with the highlighting process.
Second, if you're using bleach, you'll need to ensure that your hair is healthy enough to withstand the chemicals. When your hair is damaged or overly dry, it's more likely to turn to mush during the bleaching process.
To test your hair's health, do a strand test by bleaching a small section of hair.
If your hair breaks or feels excessively dry and brittle after the strand test, it's not healthy enough to be bleached. In that case, you should wait until your hair has recovered before proceeding.
Third, after verifying that your hair is good to go, it's time to get to sectioning. You'll want to start by dividing your hair into four quadrants.
If you have shorter hair, you may need to do more sections. Then use rubber bands to separate each section into smaller subsections. These subsections will be where you apply the bleach.
The number of subsections you need will depend on the thickness of your hair and how many highlights you want. We advise choosing the sections you'll be highlighting based on how much gray hair you naturally have.
If you've got a lot of gray hair, you'll need to highlight quite a few sections. If you don't have much gray hair, you don’t need to do a ton of highlights, and the ones you do should be small.
Step 5: Highlight Your Hair
With your hair prepped and ready to go, it's time to start highlighting. If you're using box bleach or lightener, follow the instructions on the packaging carefully.
If you'll be mixing up your own bleach, mix 1 part bleach to 2 parts developer in your plastic bowl.
Start by applying the bleach to the mid-lengths and ends of the subsections you've created. Then, go back and work the bleach down towards the roots of the hair.
Use foils to keep those sections separate from the rest of your hair.
To do this, you’ll hold the piece of foil under the section of hair, brush the bleach on, and then close the foil and fold the bottom half upward. After applying the bleach, let it sit for 30 minutes or according to the instructions on your bleach packaging.
Once the allotted time has passed, rinse out the bleach with cool water.
Step 6 (Optional): Tone Out Brass
After rinsing the bleach out, you may notice a yellow tint on your strands. Leaving the highlighted bits yellow could make your gray hair look warmer than you’d like.
If your hair is looking brassy, take the optional step of toning out the brassiness.
Just apply the toning conditioner to your damp hair, comb it through, and wait for the time indicated on the packaging. Then rinse thoroughly and move to the final step.
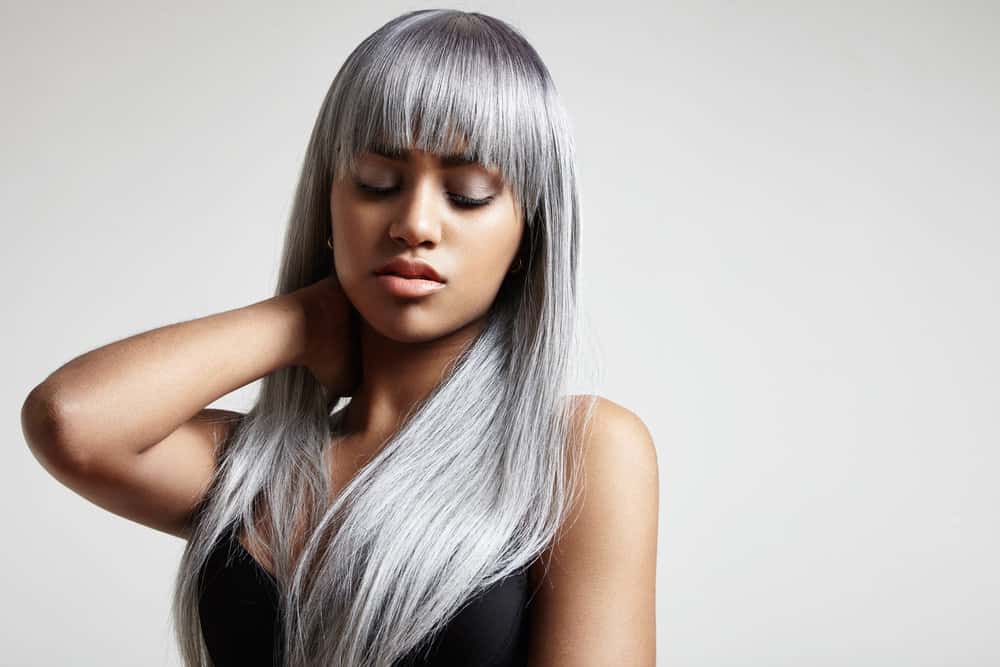
Step 7: Dye Your Hair Gray
Finish up your look with some gray hair dye. Semi-permanent hair dyes can add a gray tint to your hair without the commitment or damage risk that comes along with permanent dye. The process is simple:
- Apply the dye to your highlighted hair using a tinting brush or your fingers. Be sure to apply it evenly and avoid getting it on your scalp.
- Let the dye sit for 10-15 minutes or more if that’s what the package instructions suggest.
- Rinse your hair thoroughly with cool water.
- Follow up with a deep conditioner to revitalize your strands. The highlighting process can really do a number on them.
Semi-permanent dyes typically last up to 6 weeks. So, you can change up your look after that time without using potentially harsh dye removers.
If you don’t get the gray color shade right the first time around, you’ll be glad that you use semi-permanent dye.
Pros and Cons of Transitioning to Gray Hair with Highlights
Highlights come with a unique set of pros and cons that you should know about before jumping in. Keep reading to learn all the benefits and drawbacks of the process.
Pros
- Blending – As mentioned earlier, highlights can be used to blend your current hair color with your natural grays instead of allowing them to grow in with an obvious demarcation line. This can be especially helpful for those who are hesitant about making the switch to gray hair.
- Depth and dimension – Highlights add a layer of dimension to hair, which adds instant interest that makes others take a double-take.
- Ease of use – Highlights are one of the easiest ways to lighten your hair at home. All you need to do is follow the instructions in this article.
Cons
- Increased upkeep – Highlights require regular touch-ups to maintain their look, which can be a bit more work than some people are willing to put in.
- Risk of damage – If not done correctly, highlights can cause damage to the hair shaft, which can lead to breakage and other problems down the road.

Dos and Don’ts of Transitioning to Gray
Here are some dos and don'ts of highlighting hair to transition to gray:
- Do choose a light blonde or silver hair color for your highlights. This will help your hair look natural as it transitions to gray (i.e., blending gray hair).
- Don’t do too many highlights. This can make your hair look artificial and like you've tried too hard to go gray.
- Do be careful where you place your highlights and how thick they are. Ill-placed highlights will stick out like a sore thumb. If you’re not sure where to place your highlights, watch some highlighting videos to get an idea of where they should be placed. You should also be conservative when it comes to highlighting thickness, as thick ones can easily become overpowering. You can always go back and highlight more of your hair if needed.
- GRAY BLENDING FOR DARK HAIR WITH GREY | HIGHLIGHTS ONLY NO LOWLIGHTS Transform Your Look
- Don’t forget about upkeep! You'll need to refresh your highlights every few months to keep them looking fresh.
- Removing Hair Color to Go Grey at Home
- Why Does Your Hair Turn Gray When You Get Older?
- Roots How to Blend Grey Hair With Dark Brown Hair
- Why Does Your Hair Get Darker as You Get Older?
So, there you have it – everything you need to know when transitioning to gray hair with highlights. With a little bit of patience, targeted instructions, and the right products, you'll be rocking your new look in no time!
We hope this article has helped you understand the process of highlighting as a transition to gray hair, and we wish you the best with your new gray hair journey!


