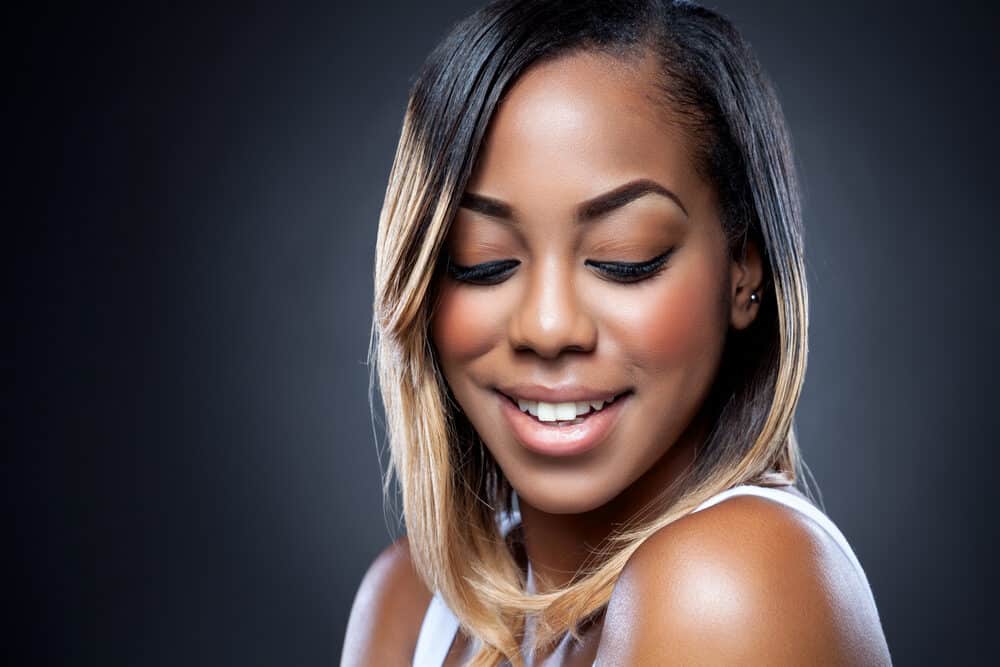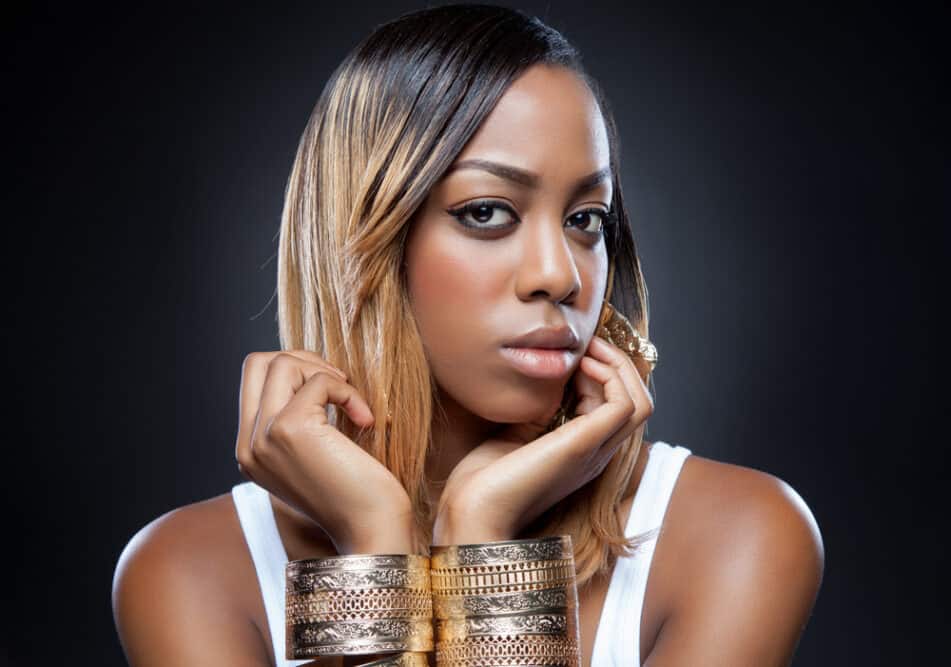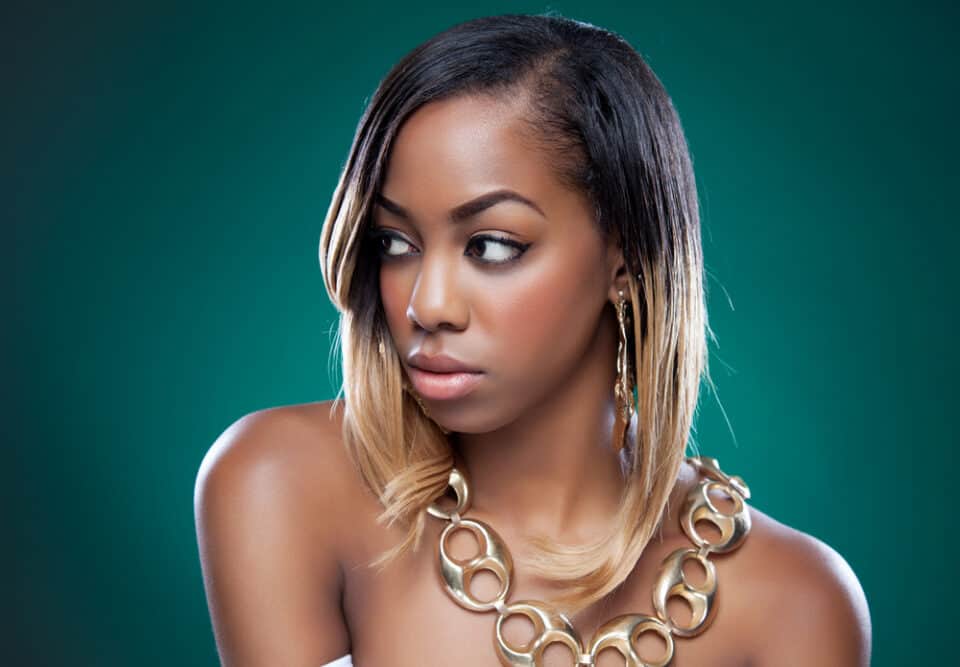
Two popular ways to achieve a lighter hair tone are highlights and streaks. Often, these terms are used interchangeably, but they actually refer to two different hair dyeing techniques.
So, what exactly is the difference between traditional highlights and streaks? In this article, we’ll answer this question and much more.
Table of Contents
- 1 What Are Highlights?
- 2 What Are Streaks?
- 3 Hair Streaks vs Highlights - Key Differences
- 4 How to Do Streaks at Home
- 5 Other Hair Streak Options
- 6 Get Streaks at the Salon
- 7 How to Do Highlights at Home
- 8 Are streaks and highlights bad for your hair?
- 9 Advantages and Drawbacks of Highlights and Streaks
- 10 Dos and Don'ts of Highlights and Streaks
- 11 Should I Choose Streaks or Highlights?
What Are Highlights?
Highlights are a hair coloring technique in which thin pieces of hair are lightened to create a brighter overall look with a darker base color. They can be applied to a variety of hair shades.
For example, you can enhance dark hair with subtle light brown highlights, brown hair with blonde highlights, or blonde hair with platinum highlights.
Moreover, highlights are usually applied using two techniques:
- Traditional foil application.
- Hand-painted balayage technique for a more natural and effortless look.
Most salons will offer balayage upon request, but it may be more expensive than traditional foil highlights.
There are several different types of highlights and lowlights, including full highlights, partial highlights, balayage highlights, dimensional highlights, subtle highlights, caramel highlights, blended highlights, natural highlights, and many more.
Due to the different techniques and the number of highlighting color choices, we recommended visiting your local beauty salon to meet with a colorist.
During this meeting, you will be able to discuss your goals. For example, you may want to add depth or incorporate a darker color or a lighter color into your hair.
The colorist can help you choose the perfect shade for your hair - whether you're wanting an all-over hair color or you simply want a partial highlight focused on a specific section of your hair.
What Are Streaks?
Streaks are a hair coloring technique in which thicker sections of hair are lightened or colored using the foil technique. The technique is often used to create a bold look or add vibrant colors to your hairstyle.
Adding lightened or brightly colored streaks at the front of your hair is extremely popular right now on social media.
Hair Streaks vs Highlights - Key Differences

The main difference between highlights and streaks is the amount of hair that is colored. Highlights are usually applied to very thin sections of hair, while hair streaks are applied to thicker chunks of hair.
Highlights are meant to look natural, blend nicely, and enhance your natural hair color. On the other hand, streaks are meant to create a bold look that stands out from your natural color and adds character to your style.
How to Do Streaks at Home
Though many go to the salon to get streaks, you can do them at home with the right guidance and materials. Follow the directions below to do streaks at home using the foil technique.
Gather Your Supplies
Depending on the color you want to achieve, you will need the following materials:
- Bleach powder
- Volume 20 or 30 cream developer
- A tint brush and bowl
- Rubber gloves
- Aluminum hair foils
- Rattail comb
- Hair clips
- Old T-shirt or towel
- The hair dye of your choice
- Purple toning shampoo
Prep for Streaks
Before you begin the dyeing process, take a few preparatory steps:
- Start by evaluating your hair, considering your desired style, and deciding where you want to do streaks in your hair. You can put streaks all over your hair (i.e., an all over color), just in the front or in the bottom layer of your hair, for a hidden pop of color.
- Twenty-four hours before dying your hair, wash it to remove buildup and excess oil from the hair shaft.
- Put on an old shirt that you don’t mind messing up. You may also want to wrap a towel around your shoulders for easy clean-up.
- Pull out the sections of hair you’d like to lighten and secure them with clips or aluminum foil. Use a rattail comb to create clean parts.
- Put on rubber gloves to protect your skin.
- Mix the bleach powder and developer according to the package instructions.
Bleach Your Hair
Now that you’re all done with prep, it’s time to start bleaching. We’ll go over the bleaching steps below:
- Apply the bleach mixture to the sections you separated out. Use just enough bleach mixture to saturate each section of hair, being careful to avoid getting it on your scalp. For best results, ensure that the product is evenly distributed throughout the section. *To avoid hot roots, apply the bleach to your mid-lengths and ends first, and then come back later and apply it to your roots.
- Once each section is completely coated, fold it up in a piece of foil. Make sure the hair is completely covered to keep it from drying out.
- After fifteen minutes, unfold the foil and use a towel to wipe off some of the bleach. Examine the section of hair to see if it has been lightened to your desired shade. If it has not reached your desired shade, reapply the bleach mixture and wrap it again in aluminum foil.
- Check on your hair every 10 or 15 minutes until it’s reached your desired lightness. To prevent damage, you should only leave the bleach on your hair for up to 45 minutes.
- Carefully rinse out the bleach without allowing the bleach to touch any other parts of your hair. Be sure to rinse out all of the bleach thoroughly.
- Repeat these steps for the rest of the bleached sections.
- Shampoo your hair using a purple toning shampoo to remove any brassiness. Allow your hair to soak in the shampoo for a few minutes, and then rinse.
For more information about bleaching techniques and considerations, read our latest posts covering the following topics:
- How to Use Coconut Oil Before Bleaching Hair
- How Long Should You Leave 20 Volume Bleach in Your Hair
- How Often Can You Bleach Your Hair Safely Without Damaging It
Color the Lightened Sections
Now that your hair is lightened to your desired level, it’s time to apply some semi-permanent color over it. Use the following steps to get it done right:
- Re-section the portions of your hair that were bleached and secure them with clips.
- Prepare your hair dye according to the package instructions. If you purchase a direct dye, you won’t need to mix it with a developer.
- Using your tint brush, apply the dye to a test strand.
- Wrap the section in aluminum foil and allow it to set. Check on your hair every ten to fifteen minutes.
- Remove the aluminum foil and rinse the dye from the strand.
- If you like the results from the test strand, repeat the above steps for the rest of your pre-lightened hair.
- Remove the foils and thoroughly rinse your hair.
Other Hair Streak Options

If you want to do streaks without bleach, you can do them with permanent hair color that lightens and deposits color simultaneously. To do so, follow the instructions on the hair dye box and only apply the dye to the parts you’d like to streak.
Hair chalk is a great way to add temporary washable streaks to your hair. It comes in many different hair colors and is an excellent option if you want to experiment with colored strands without damaging or permanently altering your natural hair.
You could also use a temporary hair color spray to achieve a temporary look. Hair color spray is a great option for someone who wants to add color with minimal commitment.
To use hair spray, simply shake the bottle and apply it directly onto your hair in desired areas.
Get Streaks at the Salon
To get streaks at the salon, just ask your hair stylist. Be sure to come prepared with an idea of your desired look, as well as inspirational pictures for reference.
But keep in mind that, even if you bring photos, the style in the picture may not look the same on your hair, depending on the hair texture, natural hair color, skin tone, and face shape of the person pictured.
How to Do Highlights at Home
For subtle, sun-kissed highlights, the coloring process is a bit different from streaks. Below, we’ll explore how to do highlights at home.
At-Home Highlighting Instructions
To do at-home highlights, follow the instructions listed above for streaking your hair. But, instead of applying the bleach and dye to thicker sections of hair, you’ll apply it to small sections and choose a more subdued color.
Below are some tips to make the highlighting process painless:
- In the front of your hair, create thicker one-inch sections of highlighted hair.
- Decrease the width of the sections as you work your way back. You may have sections as small as a quarter-inch at the back of your hair, as well as on the bottom layers.
- Create varied section widths throughout your hair for a more natural look.
Salon Highlights
When you go to the salon for highlights, you’ll need to have a thorough conversation with your stylist. You should be prepared to answer the following questions:
- How light or pronounced do you want your highlights to be?
- Do you want a traditional or balayage application technique?
- Are there photo examples of your desired style?
Knowing the answers to these questions, and being able to communicate them clearly, will enable your stylist to create the look that you want.
Are streaks and highlights bad for your hair?
Any time you chemically lighten your hair, there is the potential for damage, especially if the bleach or dye is not applied correctly. Additionally, a lighter color will usually increase the probability of hair damage.
So, while both highlights and streaks can be bad for your hair, streaks are generally worse since they often require a more drastic change than highlights.
Prevent Damage from Streaks and Highlights
Luckily, there are ways to properly care for and maintain your hair to prevent damage after getting streaks or highlights. Let’s get into the tips below:
- Incorporate a strengthening shampoo and conditioner into your regimen. These hair products contain protein that will help protect your hair from breakage.
- Use a deep conditioning treatment after you dye your hair to add moisture back to your hair.
- Use a purple shampoo every so often to maintain your hair’s tone.
Advantages and Drawbacks of Highlights and Streaks

If you're still unsure whether you should choose highlights or streaks for your next hairstyle, then be sure to review these lists of pros and cons to help you decide.
Pros of Highlighting Hair
- Brightening - They create a brightening effect that can enhance or warm up your natural hair color.
- Fresh - They are a great way to freshen up your look and add dimension to your hair without frequent visits to the salon to maintain an overall color.
- Versatile - They are a versatile hair coloring technique that can be adapted to complement a variety of hair types. Dark or light hair, straight or curly hair, and thick or fine strands can all be enhanced by natural-looking highlights.
Cons of Highlighting Hair
- Maintenance - They will change your hair care routine, as they require more maintenance and care than virgin hair. So, if you don't have time or money to devote to your hair, then highlights, or hair color in general, may not be for you. If you're interested in low-maintenance hairstyles, read this article for a list of popular protective hairstyles.
Pros of Hair Streaks
- Fun factor - They are a bold, fun look that makes a statement and turns heads.
- Versatile - They are versatile, as they can totally change your look or add a fun pop of color to a few hair strands.
- Options - There are many great options out there for adding temporary streaks to your hair.
Cons of Hair Streaks
- Unflattering results - If done incorrectly, hair streaks can look choppy. Also, if very light streaks are applied to dark hair, it can look unflattering and will not compliment your natural hair color.
- Quick fading - Hair streaks are often used to apply bright color to your hair. However, bright colors tend to fade quickly and will require frequent touch-ups. If you're looking for a cost-effective or low-maintenance hairstyle, bold hair streaks may not be for you.
- Roots - If you choose to grow out bold streaks, they may leave a more pronounced root line in your hair.
Dos and Don'ts of Highlights and Streaks
If, after reading the pros and cons, you want to try highlights or streaks, that’s great! But before you visit the salon or try coloring your hair at home, read the following dos and don’ts to prevent hair snafus during and after the coloring process.
Dos for Highlights:
- Don’t underestimate the importance of a hair colorist. Stylists are professionally trained and knowledgeable - they know best what technique, color, and application will look best on your hair. If this is your first time experimenting with highlights, you might consider using a hair salon before trying to create your own highlights, especially if you have long hair.
- Watch hair streak video demonstrations or highlighting tutorials. Visual tutorials can help immensely with your coloring technique.
Don'ts for Highlights:
- If you're doing at-home color, don't leave the bleach on your hair for too long. This is the quickest way to cause damage to your color-treated hair strands. This 'don't' applies to hair streaking as well.
- When completing at-home color, don't make the colored sections too large.
Dos for Streaks:
- Consider going for a unique or bold style. When it comes to streaks, go big or go home!
- Try the bleach and color on a test strand rather than doing all of your streaks at once. One strand of damaged or incorrectly colored hair is much easier to deal with than a full head of ruined hair.
Don'ts for Streaks:
- Don't try hair streaks at home if you have previously colored hair. It is difficult to know exactly how pre-colored hair will react to bleach and hair color, so you should consult a professional stylist before attempting this type of hair color change. This also applies to highlights or any other at-home hair coloring methods.
- Difference Between Shadow Root Blonde vs Balayage
- Partial Balayage vs Full Balayage Curly Hair
- How Long Does It Take To Get Full Highlights?
- How To Do Balayage on Dark Hair at Home
Should I Choose Streaks or Highlights?
The decision between highlights and streaks depends heavily on your personal style, natural base hair color, and your desired final result. If you want a natural, lower-maintenance hairstyle, then highlights are for you.
You can choose a subtle color that can easily be grown out over time without a visible line showing the roots of your hair.
If you like to live on the wild side, then streaks are your best bet. However, be aware the bold hair colors tend to fade faster than more natural tones and may require more maintenance than highlights.
They will also be more noticeable if you choose to grow your hair out.
No matter which hair coloring technique you choose, be sure to baby your hair afterward to keep it looking its best. We hope that this article is helpful to you as you explore your hair-coloring options.


