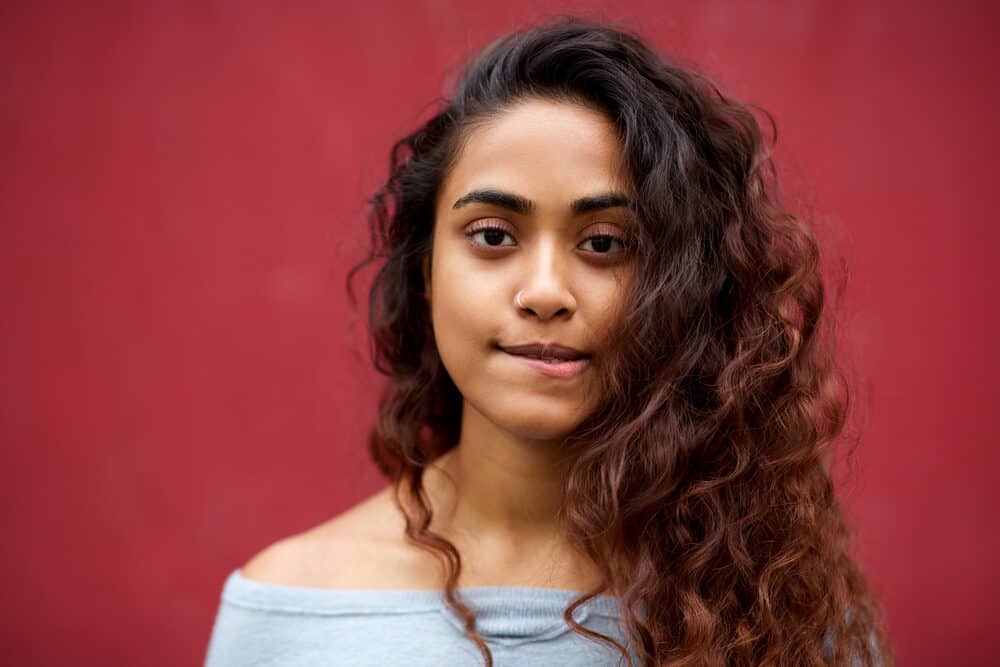
The balayage hair technique has become increasingly popular due to its sun-kissed look and interesting application process.
It can be done on any hair type to achieve many different color results, giving your hair a stunning dimension that’s impossible to ignore.
If you’re interested in trying this coloring technique but aren’t quite sure where to start, our guide can help you achieve your desired look. Without further ado, let's learn how to do balayage on black hair.
Table of Contents
Balayage For Black Hair
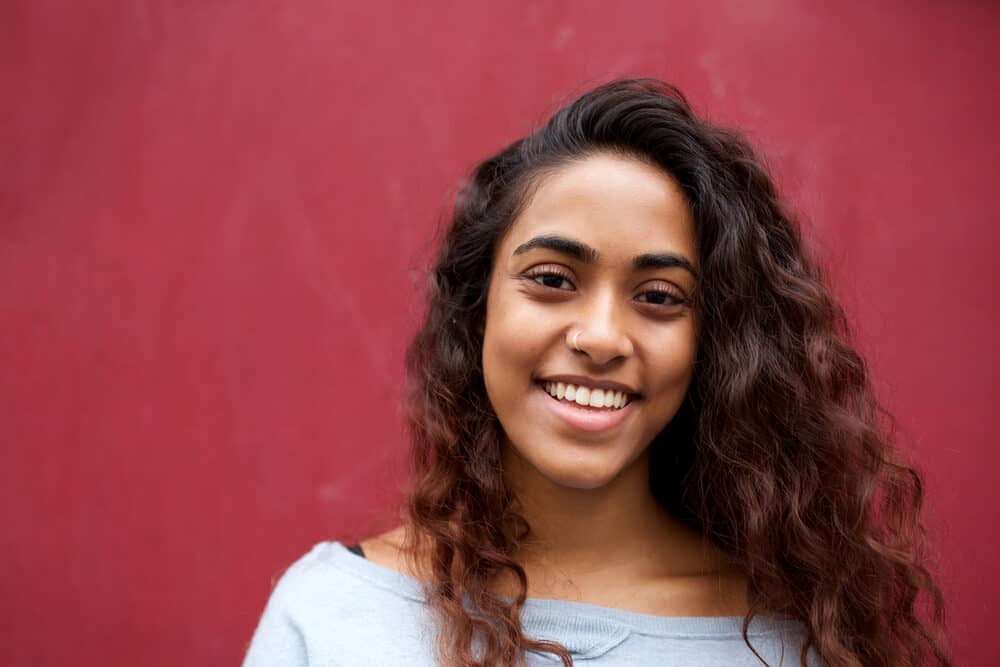
Though it seems like a new technique, balayage has been around since the ‘70s. It was developed by French colorists and very quickly made its way to salons all around the world.
The word means “sweep” in French, which will make sense once you learn how those pretty highlights are applied to your hair.
The process involves using a brush to hand paint (or sweep) the dye or bleach onto your hair. This freehand application creates a more natural look than other coloring techniques.
Also, you can tailor the color application process to complement anyone’s unique look and personal preferences. The result is the gorgeous sun-kissed look of a surfer’s hair.
No matter what your natural hair color is, you can get some lovely highlights using the balayage technique. It also works on straight hair, tight curls, and everything in between.
Of course, the process may be a bit different for certain hair colors. Also, highlighting blond or light brown hair is much easier than highlighting dark hair.
It also requires fewer sessions and less harsh chemicals. This doesn’t mean that you can’t balayage dark hair, though.
But you will need to use bleach and possibly some toner to get the look you want. You can also opt for some darker highlights, like auburn or caramel, which will complement your natural black shade.
How To Do Balayage on Black Hair
Before you begin to balayage your black hair, you need to gather all the items you’ll need for this process. They include:
- Plastic mixing bowl
- Box bleach kit (or bleaching powder and developer: 20 or 30 vol)
- Gloves
- Old towels
- Old clothing
- Moisturizing cream/Vaseline
- Alligator clips
For beginners, a boxed kit is best to lighten the highlighted sections. If you have more experience with mixing bleach on your own, you can try the bleaching powder and developer.
Don’t go for the highest-strength developer, either. Though 40 volume developer works fast, it is also extremely damaging to the hair, especially curls.
So, stick with a 20-volume developer for a light color lift or 30-volume for golden highlights.
The box kits usually come with a lot of the items you need. If you aren’t using one, you’ll need a silicone or plastic tinting brush as well as the bleaching powder and developer.
Once you’ve gathered your gear, it’s time to start the balayage process.
Step 1 – Prepare Your Area
Gather all of the items you need for the balayage process. Lay them out on a towel-covered counter in your bathroom. Put on the old clothing and lay another old towel on the floor in case of spills.
Prepare your bleach as stated in the included instructions. The most widely recommended mixing ratio is 1 part bleach to 2 parts developer.
Apply a thin layer of moisturizing cream or Vaseline around your hairline. This will protect your skin from the bleach during the application process.
Step 2 – Do a Patch Test
Use a small amount of product and apply it to a thin strip of clean, dry hair with your gloved fingers. Let it develop for 20-30 minutes, and then wash it away.
If it doesn’t have any adverse effects on your hair, you can continue with the rest of the process. This also allows you to judge how long to leave the bleach on to reach your desired color.
Step 3 – Section Your Hair
Section your hair, using clips to keep each section separate from the rest. The number of sections you’ll need to make depends on how long and thick your hair is.
You may be able to get by with only two sections, the top, and bottom of the hair, or you can use four or more if needed. This is entirely up to you.
Remember that when you apply the bleach for the balayage technique, you start at the bottom and work your way up. Clip your hair in a way that makes this process as easy as possible.
Step 4 – Apply the Bleach
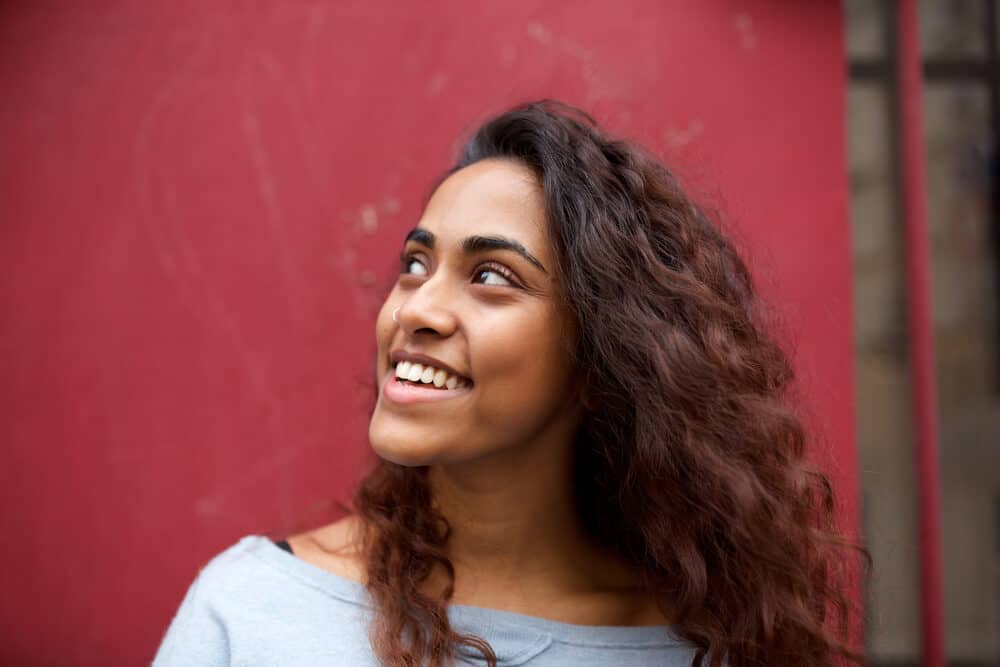
Dip your brush into the bleach mixture, being sure not to overload it to avoid dripping. Take a small strip from the bottom section of your hair and begin applying the bleach. Start about halfway up the hair and brush the bleach to the ends.
Be sure to brush small pieces at a time. Don’t worry about making straight lines from top to bottom, either. Creating a V-like pattern makes the finished look a bit more natural.
For those who learn better with visual demonstrations, this informative video will help a ton for textured hair types.
You may also need to work the bleach into the curls a bit using your gloved hands. This will ensure it is penetrating the curls and coating each strand.
Continue this process through each section of your hair. When you reach the top section, apply the bleach within a few inches of the roots.
After the bleach application process is complete, leave the bleach to do its magic. This can take anywhere from 20 to 30 minutes, depending on the shade you’re trying to achieve.
Step 5 – Wash Your Hair
Once time is up, wash your hair. You can use your regular shampoo or try a purple toning shampoo to help reduce brassy tones.
Then condition your hair using a moisturizing conditioner. Depending on the kit or box you buy, there may even be shampoo and conditioner included; if so, you can use these instead.
Dos and Don’ts of Balayage
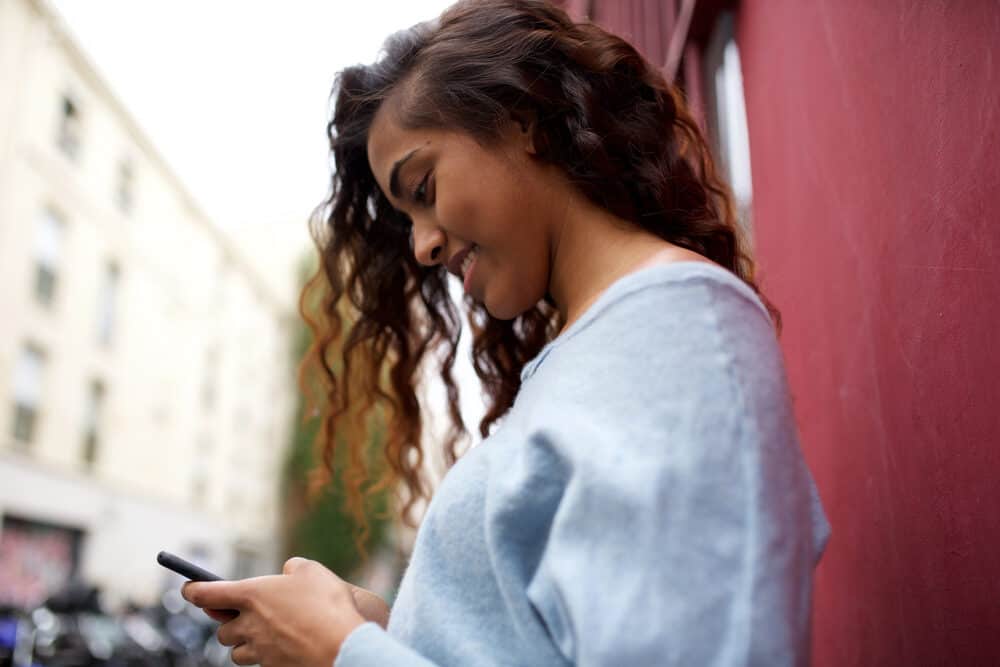
There are several practices that make the balayage process easier, as well as mistakes that can make it difficult. So, we urge you to follow the below dos and don’ts of balayage on dark hair.
- Do take your time to be sure you’re coating the hair properly. Some people ask a friend for help with the back sections or use extra mirrors to see every section of hair.
- Do use high-quality bleaching products instead of cheap ones. This will reduce the damage to your hair from harsh bleaching chemicals. Your washing and conditioning products should also be gentle and color-safe to preserve your hair’s health and maintain your new balayage highlights.
- Don’t use foils for this technique. It isn’t needed, plus the foil locks in the heat from the bleach, which could increase your chances of hair damage.
- Don’t use 40 volume developer. This product is too harsh, especially for already dry, curly strands, so stick with 20 or 30 volume for the best results. Only leave the bleach on for a maximum of 30 minutes for minimal damage.
Pros and Cons of Balayage

Still on the fence as to whether you should try balayage? These pros and cons will make the decision easier.
Pros
- This technique gives you a more natural look than other highlighting techniques.
- It is low-maintenance, and touch-ups are quick.
- There’s less hair damage since this technique doesn’t require you to coat your entire head in bleach.
Cons
- You may end up with red or orange tones after the bleaching process. A toner or a purple shampoo can warm up those tones, though they may not get rid of them completely.
- Though the damage may be minimal, the bleach will cause some damage to the areas it’s applied to. A hair mask or deep conditioning treatment may be needed to strengthen and protect your hair.
- Difference Between Hair Streaks and Highlights
- What Is a Partial Balayage vs Full Balayage?
- How Long Does It Take To Get Highlights Done?
- Difference Between Shadow Root and Balayage
Those who want a natural, beachy look without spending all their time outside can get exactly that with a balayage dye job. It gives you amazing highlights that complement your black hair beautifully.
The process is also easy to do, which saves you time and money when you do it yourself. We hope this article has been helpful to you and wish you the best with your new balayage hairdo!


