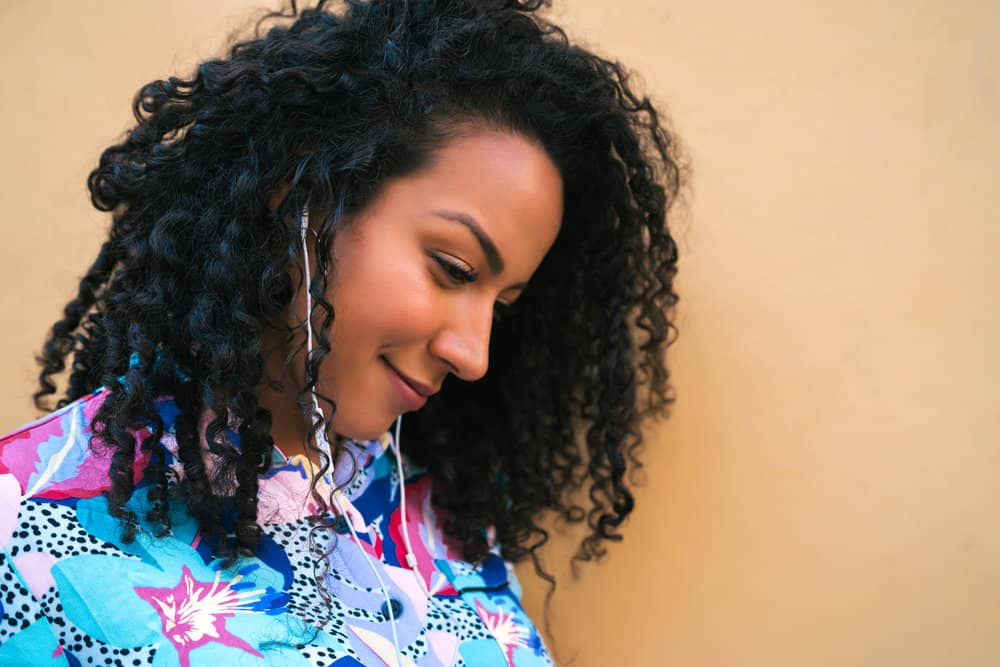
Curls have never been as hot as they are now! And this is evidenced by the sheer volume of people rocking spirals, kinks, coils, and other curl types.
If you're considering jumping on the bandwagon and trying curls, there are several routes you can take. In this article, we'll tell you everything you need to know about how to curl hair.
Table of Contents
How to Curl Hair: 5 Ways Put Curls in Your Hair
If you thought there was only one way to curl your hair, that's not the case. There are many ways, and each has its own procedure, pros, and cons. In this section, we'll introduce you to 5 hair-curling methods you can use to get in on the latest curly hair trends. Let's get right into it!
Curling Iron Curls
Do you want bouncy curls with a uniform shape? If so, then curling iron curls are a great option for you. For this curl type, you'll follow the below steps:
- Wash, condition, moisturize, and dry your hair. If you can stretch your hair during or after the drying process using banding, braiding, or a blow dryer with a comb attachment, it'll make the rest of the styling process easier.
- Apply a heat protectant spray to your strands and comb that through to ensure that all your strands are covered and protected from the direct heat to come.
- Part your hair into at least four equal sections - 2 in the front and 2 in the back. Use a clip or an elastic to keep each of the sections separate.
- Straighten your hair with a flat iron. You'll only need to do this if your hair isn't naturally straight. If you use a curling iron on your hair while it's still in its textured state, your natural texture may show through your curls.
- Curl your hair in sections using a curling iron. To do that, you'll clamp the curling iron down almost at the ends of the hair and then roll the tool upwards near the roots. Wait a few moments, and then release the curl.
- After all of your hair is curled up, you can style your curls however you'd like. Pull the curls at the top into a ponytail, separate and fluff them with your fingers, or comb through them to make them less pronounced. It's all up to you.
Pros and Cons of Curling Iron Curls
You know how to use a curling iron to get curls, and you might even be pumped to try the style on your own. But before you decide, we recommend taking a look at the pros and cons of this curl type:
Pros
- Curling irons come in a wide variety of sizes. And that means that you get a lot of styling versatility. With the right-sized barrel, you can create curls ranging from super tight to loose and beachy.
- Creating curls with a curling iron doesn't take long at all. This is a huge pro for those who find it difficult to find time to style their hair.
- Curls created with a curling iron last for quite a bit of time - anywhere from a day to several days.
Cons
- Curling irons get piping hot, up to 450 degrees. So, there's a substantial risk of heat damage when using them. Those with damaged hair should minimize the use of heat-styling tools like curling irons.
- Traditional curling irons only have one barrel. And this barrel can only create one curl type. You'll need a different curling iron if you want to create smaller or larger curls. Other curling irons come with interchangeable barrels, but these will cost you more, and they're not considered standard.
- Though curling iron curls don't take a ton of time for most, if you have really thick or long hair, you could be curling your hair for what seems like forever.
Flat Iron Curls
In case you weren't aware, you can curl your hair with your flat iron. And depending on how you hold and turn the flat iron, you can create several curl types.
What's more, is that flat irons are available in various types and plate widths, so your curl styling possibilities are vast. You can create barely-there curls, bombshell curls, spiral curls, and more. Here's how to use a flat iron to get basic curls:
- Start with clean, dry, moisturized hair. You don't want to apply direct heat to chronically dry hair. The risk of damage is much higher in a situation like this.
- Apply your heat protectant product to all of your hair and either smooth or comb it through.
- Separate your hair into 4 to 6 sections and keep them separate with clips or elastic bands.
- Begin flat ironing your hair in sections. It will smooth and straighten your hair to make it easier to get smooth, bouncy curls.
- Go back and re-section your hair into 4 to 6 sections and secure them as you did in step 3.
- Use the flat iron to add curls to your hair. To do so, you'll release one of the sections and create a small horizontal subsection. Clamp your flat iron down at the roots of the section and start passing it down the length of the hair. As you begin to move the iron, turn your wrist as far as it will go (the direction you turn your wrist doesn't matter). Don't stop moving the flat iron at any point. Continue passing the flat iron through the hair until you reach the ends.
- Release the curl and move to the next subsection.
Pros and Cons of Flat Iron Curls
Wondering whether flat iron curls are the right curling technique for you? Check out the below pros and cons to help you decide.
Pros
- You can use a flat iron to create tiny coils or large loose curls. The tool is very versatile.
- A flat iron will save the day in a pinch if you want curls but don't have a curling iron.
- The curls that flat irons create aren't going to be as uniform as those done with a curling iron. This is a good thing for people who are going for a more relaxed, messy look.
- Flat iron curls last longer than those created with other heat tools.
- It takes seconds to create a single curl with a flat iron. So, you can do your whole head in very little time.
Cons
- Heat damage is always a risk when using heat tools; flat irons are no exception. If you do your curls with a flat iron, there is a chance you could experience texture loss, split ends, and other things that come along with heat damage.
- Flat iron curls often lack volume from the roots all the way down to the ends. This is because of how the plates sandwich the hair and flatten it. This may not be a con for everyone, but it is for some.
- Some people will have trouble figuring out how to create beautiful curls consistently with a flat iron.
Twist-Out Curls
Are you trying to preserve the health of your hair? In this case, you should definitely consider heat-free curls! Twist-out curls are extremely popular among those who have naturally curly hair.
The style involves two-strand twisting your hair, leaving the twists to set, and then taking the braids down to see the result. Just know that twist-outs don't create spiral curls - the "curls" they create are more like a wave than anything else.
To do a twist out, you'll follow the below steps:
- Wash, condition, and moisturize your hair. It's best to have a clean slate before doing a twist-out.
- Separate your hair into 2 - 4 sections.
- Further separate the hair into square subsections. The sections don't have to be small unless you want the resulting curls to be tight and super defined. Go for medium or large sections otherwise.
- Apply mousse or gel to each subsection and then twist the hair down to the ends. To do a two-strand twist, all you'll need to do is separate your subsection in two and then cross the right section over the left (or the left section over the right) repeatedly.
- Allow the hair to dry. You can speed things up by blow drying as well. If you plan on blow drying, be sure to set the dryer's setting to low or cool. That way, your hair won't become heat damaged.
- When your twists are completely dry, it's time to unravel each of them. Ensure that your hands are coated in an oil of your choice. Doing so will help you avoid frizz.
- Fluff and separate your curls as much as you want to achieve the look you're going for. You're all done.
Pros and Cons of Twist Out Curls
There's no denying that twist-out curls are gorgeous. But you should consider more than that before giving them a try. Here are the pros and cons to think about:
Pros
- Twist-outs don't require any sort of heat. That makes them ideal for those who are purposely avoiding heat for their hair's health.
- Twist-outs last for days if you cover them up at night with a silk or satin bonnet. No need to restyle them in the mornings.
- Twist-outs give you full styling versatility. Once the curls are set, you can pull them up into a high pony, a half-up style, a formal updo, or any other style you can think of.
- Twisting hair is easy to do for most people.
- Twist outs give you natural-looking curls that vary a bit. You'll love this if it's your cup of tea.
Cons
- When you're just starting out with this style, it can take quite a bit of time to twist all of your hair up.
- Twists don't result in super uniform curls. Those who are looking for this type of look won't be happy with their results.
- Some may find that their twist-out only lasts for a day or two. Though, when you perfect your technique, it will last for a little while longer than that.
Braid Out Curls
Braid-out curls are another curly-girl favorite. They give you "S" shaped curls with a whole lot of definition and shine. This hair-curling method requires you to put your hair in three-strand braids and then take them down to reveal your curls.
Want step-by-step instructions for how to do braid-out curls? Here they are:
- Cleanse and condition your hair to prepare it for the styling process. You can also apply a leave-in conditioner for extra moisture.
- Part your hair into 2 to 4 equal sections to make it easier to work with.
- Break down each section into small, medium, or large subsections. The larger you make the sections, the chunkier and looser the curls will be.
- Apply styling mousse or gel to each of the subsections you just made.
- Three-strand braid each section from the roots to the ends. If you don't know how to do a three-strand braid, watch this video tutorial to see how it's done step by step.
- Once all of your hair is braided up, wait for it to dry. If the drying process is dragging on for too long, you can speed things up with a blow dryer.
- With your hands coated in a carrier oil of your choice, take down all of the braids to reveal your curls!
- Fluff and separate your hair if you'd like. The choice is yours. Just be sure not to over-fluff if frizz is a concern.
Pros and Cons of Braid Out Curls
Now that you understand the basics of braid-out curls and how to do them, let's look at the style from a different angle. Here are the pros and cons to be aware of before giving this style a try:
Pros
- Your styling options are vast with braid-out curls. You're not limited by anything but your imagination.
- Like twist-out curls, you don't have to apply any potentially damaging heat to your hair when doing a braid-out.
- Braid outs can last anywhere from a few days to about a week.
Cons
- There's a learning curve associated with braiding that could be too much for some to overcome.
- If you have super long or thick hair, it could take quite a bit of time to braid up all of your hair.
Roller Set Curls
Here's another heat-free way to curl your hair. A roller set is when you wrap your hair around rollers to take on their shape. The type of curls you can get with this method largely depends on the type of rollers or rods you choose and their size.
But standard rollers will give you bouncy spiral curls that have a ton of volume. Want to know how to get roller set curls? Keep on reading.
- Shampoo, condition, and towel dry your hair.
- Apply your leave-in and then use a comb to distribute it through all of your hair.
- Separate your hair into medium-sized sections and use elastics to keep each of the sections separate. Alternatively, you can carve each section out one at a time. It's up to you.
- Choose a section and smooth some mousse or gel onto it from roots to ends.
- Wrap the section of hair around a roller or rod. Start at the ends and slowly roll upward until you get about an inch from your roots.
- Wrap all the rest of your hair up using the technique from the previous step.
- Give your hair time to dry. You can also sit under a hooded dryer or blow dry your hair to speed things up.
- When you're sure your hair is dry, take the rollers out of your hair by rolling them in the direction opposite to the curl.
- Style your curls however you'd like.
Pros and Cons of Roller Set Curls
At first glance, you might think that rollers or rods are your ticket to great curls. And you could be right. But before you make that decision, take a good look at the good and bad of this hair curling technique. That's what we'll do in this section:
Pros
- Roller set curls are rarely flat. So, if volume is what you're going for, you'll absolutely love a roller set.
- You can do a roller set with or without heat. That freedom is great for those who are hyperaware of their hair's health.
- Roller set curls aren't limited when it comes to styling. You can style them however you want.
- These curls are low maintenance once you're done setting them. They don't require any styling in the mornings to keep them looking nice.
Cons
- Roller set curls are a little more challenging to achieve than many other hair curling techniques. You've got to wrap all of the hair on the roller without lumps and bumps that could create imperfections in the curls.
- Sleeping on roller set curls can be problematic. Since they are so voluminous, they are easy to smash as you sleep at night.
- How Do You Use a Curling Iron
- Straw Curls for Natural Hair
- How to Use Hair Rollers for Volume
- How to Do Sock Curls
So, there you have it - everything you need to know about how to curl your hair. We hope you found all the information you were looking for, and we wish you all the best with your hair. Happy styling!

