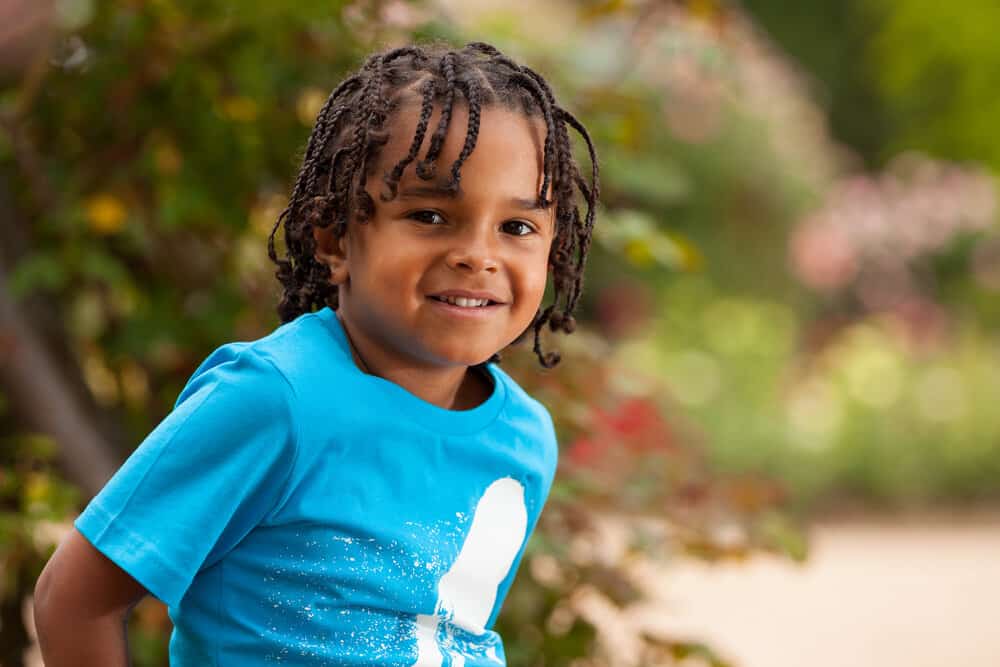
Figuring out what hairstyle works for your toddler can be a challenge. They have to look great, be easy to install, and make your little one happy. But what happens when you keep falling back on the same one or two basic hairstyles?
If you’re on the hunt for new, kid-friendly hairstyles to try, we can help!
Today, we're going to take you through a selection of the best braided hairstyles for little boys. We’ll walk you through the good, the bad, and the ugly so you can decide if each look is right for you and your toddler.
Table of Contents
- 1 Toddler Little Boy Braid Hairstyles
- 2 1. Double Braids
- 3 2. Three-Layer Braids
- 4 3. Zig-Zag Braids
- 5 4. Faded Braided Bun
- 6 5. Stitch Braids
- 7 6. Tribal Braids
- 8 7. Braided Crown
- 9 8. Fishbone Braids
- 10 9. Jumbo Box Braids
- 11 10. Two-Strand Twists
- 12 11. Rubber Band Cornrows
- 13 12. Cornrows with a Zig-Zag Part
- 14 13. Crisscross Braids
- 15 14. Man Bun with Cornrows
- 16 15. Single Braids
Toddler Little Boy Braid Hairstyles
Finding the perfect hairstyle for your toddler can be an exciting venture into the world of style and personality expression, and braids offer a versatile, fashionable, and practical option. They not only look adorable but also offer an effective way to manage your little boy's hair while protecting it.
In the next section, we'll walk you through a selection of charming and fun braid hairstyles for toddler boys, inspiring you to find the perfect look for your little one.
1. Double Braids
Our first braided style is a classic due to its simplicity and charm. Double braids are similar to pigtails and feature two cornrows running from the front to the back of their head. It also happens to be one of the most accessible styles for beginners.
And since there are only two braids, you’ll be finished in a flash! To start, part your toddler's hair straight down the middle. Brush each section toward the corresponding ear.
Then, starting with your toddler’s hairline, cornrow each side straight back.
When you reach the ends, use a small rubber band to hold them together and prevent the braids from unraveling. Don’t have a ton of experience with cornrows? Don’t worry; we didn’t leave you out. This tutorial has all the info you need to become a cornrowing pro.
2. Three-Layer Braids
Our next braided style manages to take plain cornrows to the next level. Instead of one boring layer of braids, this look has three!
As the name suggests, three-layer braids are a hairstyle that features three layers of cornrows. They’re a bit more full than typical cornrows, and the added dimension gives the braids a bolder shape.
To create three-layer braids, separate your toddler's hair into an upper, middle, and lower section. Split the top section in half, and create horizontal rows.
Cornrow each row horizontally.
Then, break the middle section into small, vertical sections and cornrow them straight down. Once you reach the start of the next section, stop the cornrow.
Then, braid the remaining hair so it hangs loosely. Repeat the same process with the final section, or watch this video to see how this mama brings her little one’s three-layer braids to life.
3. Zig-Zag Braids
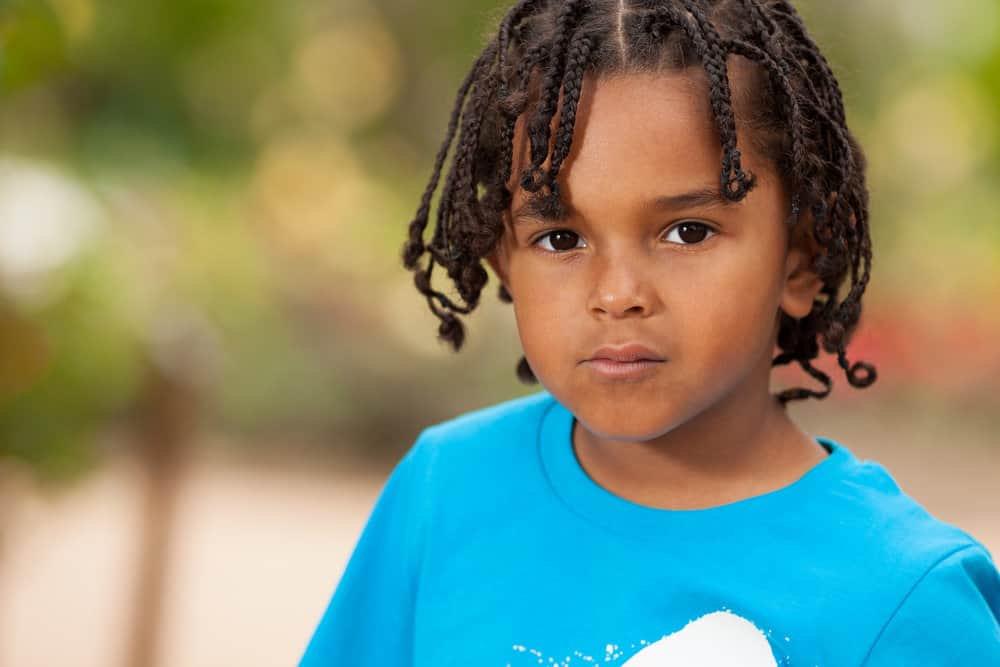
Are you looking to add a little more fun and personality to your regular braids? These zig-zagging braids are sure to be a hit, even with the pickiest toddlers. They’re fun, relatively easy, and kid approved!
Zig-zag braids shouldn’t be too complicated as long as you can do regular cornrows. Just separate your toddler’s hair into sharp, z-shaped sections. Starting with the front of the section, cornrow the hair straight back until you come to the first turn.
At that point, turn the braid around and start braiding in the opposite direction. You can either zig-zag all of your child's braids or throw some straight ones in to add more texture and diversity.
Either way, your final style will look amazing. And don’t worry if you don’t have a ton of experience with braiding. As you can see in this tutorial, it’s pretty easy once you get the hang of things!
4. Faded Braided Bun
Anyone who sees a faded braided bun can’t help but fall in love with the style. They’re stylish, low maintenance, and keep your little one's hair safely out of their face. But what makes this braided bun even cooler is that it's paired with a fade.
A fade is a haircut in which the sides get gradually shorter as you move down. The fade adds a sharp contrast to the braids and gives them more edge.
To get the look, section off the center of their hair in a bun. Then, use a pair of clippers to create a fade on the back and sides of their head. Remove the bun, and split the hair into two sections, braiding both halves straight back.
Gather the ends of the braids into a ponytail, and tuck the ends back into the hair tie to create a bun. Take a look at this tutorial to learn how to recreate this sensational style!
5. Stitch Braids
Like cornrows, stitch braids are a type of braid that is done close to the scalp. But while cornrows have smooth parts, stitch braids have horizontal likes added to them.
The lines provide a graphic quality, which elevates the braids and makes them look ultra cool. And if you already know how to braid, they’re extremely easy to do!
Simply section your toddler’s hair like you would to create cornrows, and start your first braid like usual. But after two or three segments, create a neat, horizontal part with your fingers.
Continue braiding while pausing after every few passes to add another stitch. Move to the next row until you’ve finished braiding your toddler's hair. The braids should stay wearable for around two to three weeks as long as your little one isn’t too rough on their hair.
Check out this video tutorial to learn how you can create stitch braids on your own!
6. Tribal Braids
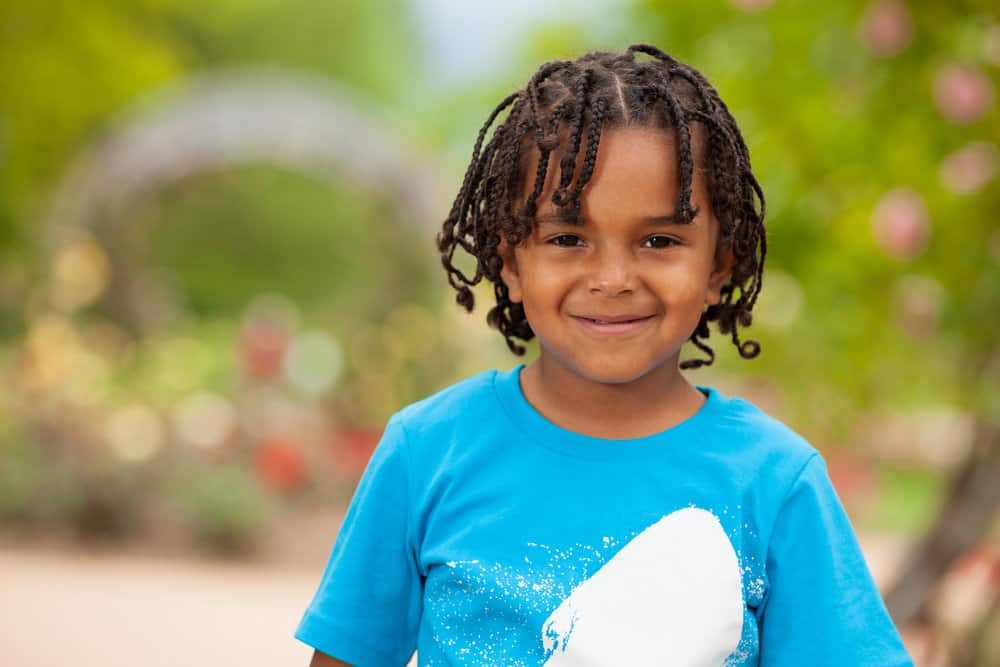
You may have seen this next look before. Tribal braids are a selection of braided hairstyles that are influenced by traditional African styles. However, they’ve seen a recent resurgence in popularity after being embraced by rappers like Pop Smoke.
These tribal braids all but guarantee that your little one will have the best braids on the playground. Start your tribal braids by parting your little one's hair into four segments that all meet in the center of their crown.
Then, split each quarter straight down the middle. When you finish, the braids should resemble a cross-section of an orange. Cornrow each row straight down, starting with the side closest to their crown.
To create an even more detailed look, you can also try crisscrossing the cornrows or feeding one into another. Once you reach the ends of the braids, tie a small rubber band around them. And that’s all there is to it!
You can watch this beginner-friendly video demo to learn more about tribal braids.
7. Braided Crown
No little king is complete without his crown. But with this adorable style, his will always be with him. A braided crown is exactly what it sounds like. It’s a braid that runs around your toddler's head, like a crown or halo. It’s adorable, keeps your child’s hair out of his face, and lasts for weeks!
Ready to learn how they’re done? Start your braided crown by creating your parts. You can use whatever parting pattern you prefer. However, it’s best to have the parts meet in the center of their head.
Cornrow each section down an inch or two before finishing them in loose braids.
Once you complete your cornrows, braid or twist the loose ends around the circumference of your toddler's head. This look is a little bit more complex than the other styles we’ve looked at so far.
So here’s a video that walks you through the process of creating a braided crown.
8. Fishbone Braids
Looking for braids that have a more graphic shape? Fishbone braids are a style created by weaving cornrows into intricate designs. They're called fishbone braids because their shape is reminiscent of a fish’s bones.
And while that might not sound like a good thing, we can assure you it is! There are various ways to style fishbone braids, so have fun showing off your creativity!
Try incorporating different shapes and techniques into the braids to create a one-of-a-kind hairdo. Just be careful not to pull their hair too tightly, or it can lead to discomfort, breakage, or even hair loss.
Additionally, fishbone braids are all about shape. So take your time to ensure you get your parting right. Are you wondering what else it takes to get these effortlessly cool braids? This convenient tutorial will show you how to create your fishbone braids.
9. Jumbo Box Braids
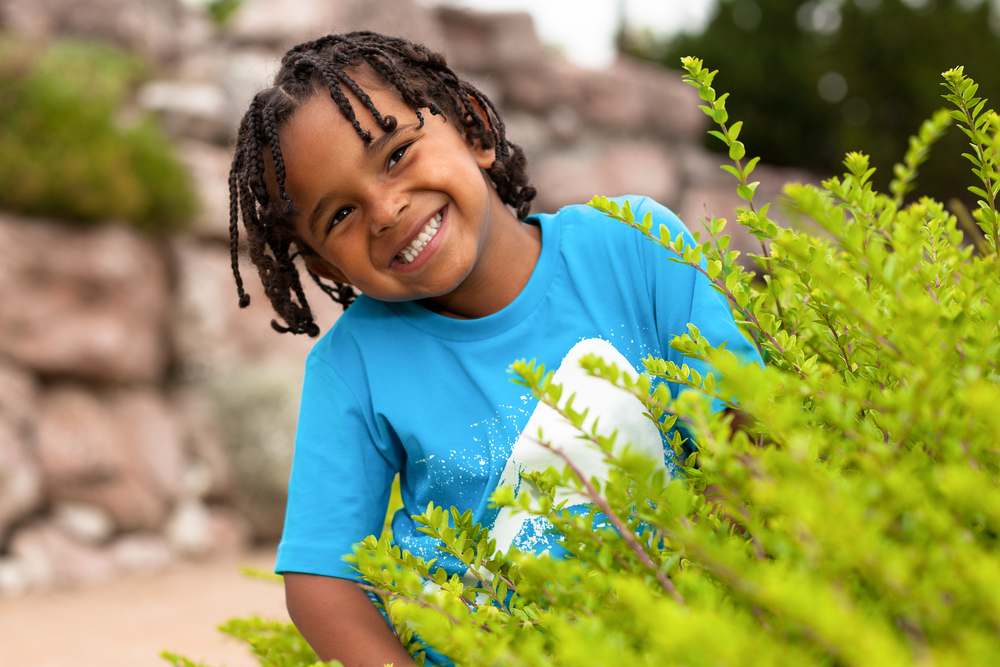
Our next look is a classic, especially for boys with curly or kinky hair. Box braids are a staple hairstyle and are one of the best styles to have in your repertoire. They are called box braids because they have neat, square-shaped parts.
The best thing about box braids is that they’re a highly versatile style. Because each braid hangs down loosely, you can throw them into ponytails, buns, or even larger braids or twists.
To create jumbo box braids, part your little one’s hair into large, square sections.
Then, braid each section in a single plait. And that’s all there is to it! With proper care, your toddler can wear his box braids for as many as two to six weeks.
In fact, they’re one of the best hairstyles for toddlers due to their ease and durability. Need a bit more help? This tutorial will make the braiding process a piece of cake!
10. Two-Strand Twists
Two-strand twists look similar to braids but are done with a slightly different technique. You’ll section your toddler's hair into square-shaped sections like normal. But instead of breaking each section into three pieces and weaving them around each other, you’ll divide them in half.
Then, simply wrap them around each other to create a rope-like pattern. And it’s important to mention that there are a ton of different ways to do your twists.
You can make them as wide or as small as you like. You can also incorporate accessories like beads, cuffs, or brightly colored rubber bands.
Once you finish your two-strand twists, you can either leave them down or pull them up into a bun or ponytail. That makes this a versatile, highly customizable style. And because there’s no braiding involved, this look is super easy to pull off! Just watch this video if you don’t believe us!
11. Rubber Band Cornrows
For all our parents out there who can’t cornrow, we have you covered! This delightful style uses small rubber bands to create braid-like rows. That makes it exceptionally beginner-friendly and super fast to install.
Additionally, your little one will love the pops of color that the rubber bands provide. If you want to give this look a try, part your toddler’s hair into four or more vertical rows.
Starting with either side, create a square-shaped box near their hairline. Next, pull the first square into a small ponytail. Create another section right behind it, and repeat the process until you’ve finished the row.
Twist each ponytail and pull it back and join it with the next section. Then, simply use another ponytail to lock the braid in place. You can learn more about recreating this adorable look by watching this helpful YouTube video.
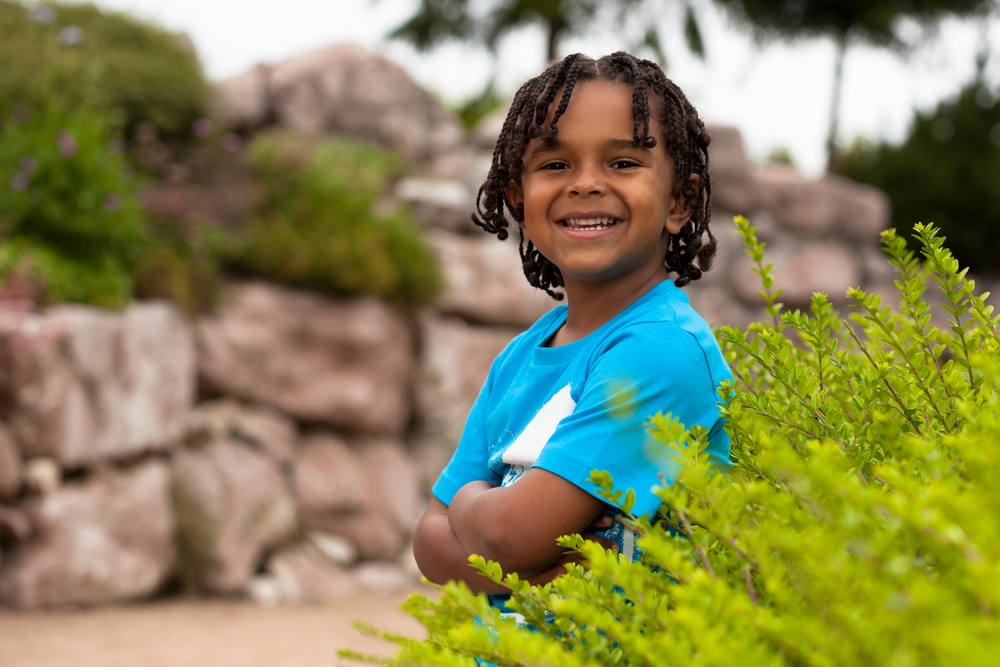
12. Cornrows with a Zig-Zag Part
While normal cornrows have straight, even parts, these have a fun, zig-zagging shape. The zig-zag part helps amp up the wow factor and all but guarantees that your little one will have the most fabulous hair on the playground.
Start your cornrows by parting your toddler's hair down the middle.
But while you’re making your way down their head, move the comb to the left and right to create z-shaped parts. Smooth their hair towards either side to check out the part. If your zig-zags aren’t crisp enough, you can touch them up.
Once you’re satisfied, cornrow their hair straight back like normal!
Incorporating a zig-zag part into your toddler’s hair is a quick way to liven up their braids. And while they’ll love how awesome it looks, you’ll love how easy it is! Still, have questions? Check out this short video demo to see more!
13. Crisscross Braids
Crisscross braids are a more unique take on regular cornrows. Instead of laying each row in a straight line, you’ll cross the braids over each other to create a crisscross. Crisscross braids are a fun and exciting take on regular braids.
And although they don’t last as long as traditional braids, they are much easier to install! Simply part your toddler’s hair into square-shaped sections around the perimeter of their hairline and loop a small rubberband around each one.
Next, braid the ponytails from base to end. Create another layer of square sections right behind your first row. Cross each braid over diagonally, and incorporate it into the corresponding section.
Then, wrap another ponytail around the hair and braid it.
Repeat the process until you run out of space. When you finish, you’ll have rows of adorable crisscross braids! Watch this video demo so you can learn how to get your crisscross braids just right.
14. Man Bun with Cornrows
While man buns are a controversial hairstyle for men, pretty much everyone agrees that they look great on toddlers. Plus, the buns serve a practical purpose.
They keep your little one’s hair off his face, neck, and shoulders to help keep him cool and ensure his loose locks never fall into his eyes. And while a man bun is great on its own, a man bun with cornrows elevates it by bringing braids into the mix.
That gives this look a fantastic blend of textures and imparts an effortlessly cool vibe.
To get the look, part your little one's hair into rows and cornrow them toward the crown. Once you reach their crown, end your cornrows and braid the hair straight down. Then, gather the loose braids and pull them into a bun.
Once you get the hang of creating your man bun with cornrows, try experimenting with the style! Try switching up the type and number of braids that you use or changing their shape or direction. Looking for more style inspiration?
Here’s a video tutorial showing you how to get the job done!

15. Single Braids
Do you struggle with getting your parts just right? Unlike box braids, this style doesn’t require you to make grid-like parts. Instead, single braids have a much more organic shape. That makes it perfect for fussy boys who don’t like to stay still.
And since the sections are larger than the ones you’d use for box braids, you can complete this style in a fraction of the time!
To create single braids, separate your toddler's hair into six or seven sections. Try to keep them roughly the same size, although they don’t have to be perfectly even.
Wrap a small rubber band around the base of each section, and braid them. And that’s it! Single braids look great on their own, but try adding beads or gold cuffs for an extra touch of fun. Need a little extra help? This convenient tutorial will transform you into a braiding pro!
It’s easy to get into a hairstyling rut, especially when you’re working with boys. But unless you shave it all off, you’ll eventually have to get used to styling. And there’s a more practical reason to switch up your toddler’s hairstyle.
Wearing the same hairstyle day after day can contribute to thinning and hair loss.
So by changing their hair often, you can ensure your toddler’s hair keeps growing the way it’s supposed to. We hope that one of the looks we’ve gone over today helps make you and your little one’s day!


