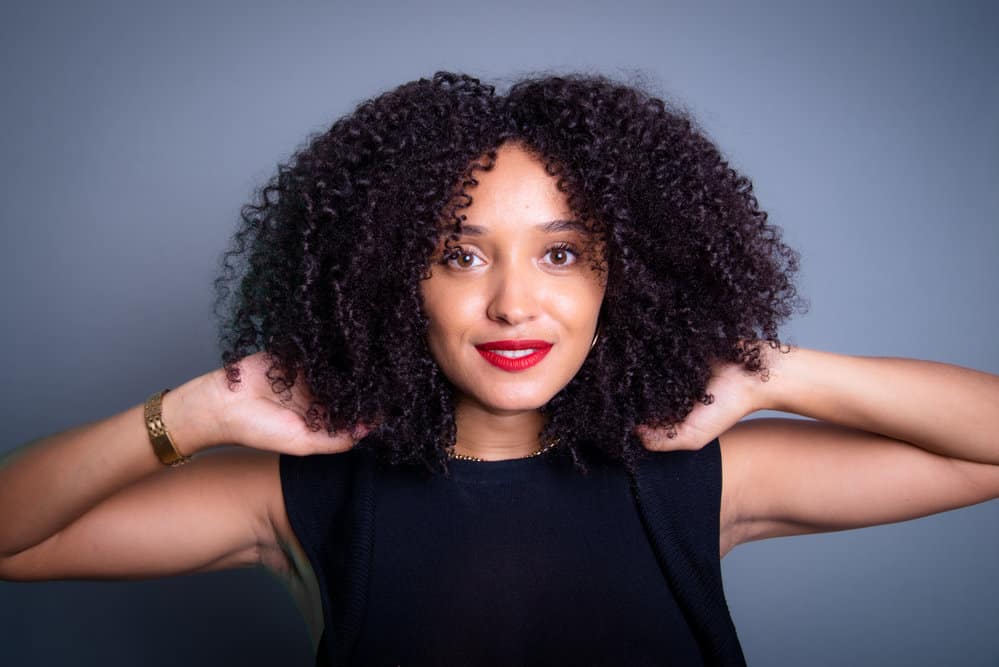
Many curly hair newbies don't know there are several ways to dry curly hair, but it's true! From plopping and air drying to towel drying and diffusing, curl drying options are plenty. If you want to learn how to dry curly hair, you are in the right place.
In this article, we'll introduce you to 5 hair-drying techniques you can use for drying curly hair without damaging your precious curls. We'll give you step-by-step instructions for each method and cover situations where each method would be most appropriate. Let's get right into it!
Table of Contents
How to Dry Curly Hair Without Causing Damage
One of the most crucial things you can do for your curls is to dry them correctly. Improper hair drying can contribute to hair dryness, brittleness, breakage, and difficult styling. Keep reading to learn how to dry your curly hair using step-by-step instructions and video demonstrations.
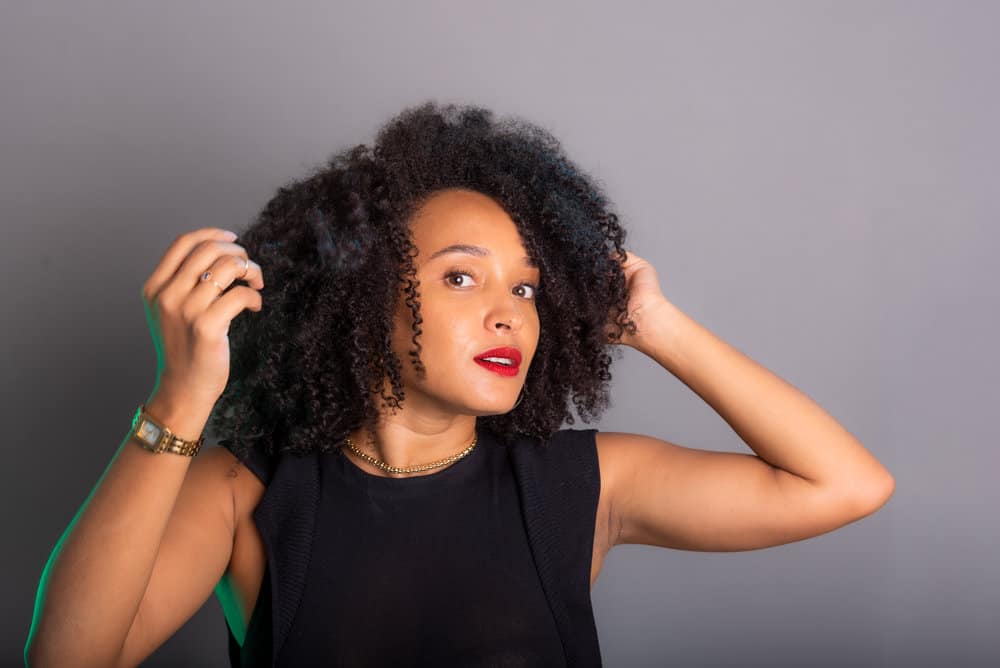
1. How to Dry Curly Hair with a Diffuser
If you ask any curly-haired person what their biggest curly hair pet peeve is, they'll probably say "frizz." Diffusing is among the best ways to dry curls without leaving your mane frizzy. It seems easy enough, but many fail to do it correctly.
To diffuse your hair, you'll do the following:
- Hop in the shower and wash your hair with your usual shampoo.
- Condition with a hydrating conditioner.
- Detangle your hair while the conditioner is coating your strands.
- Rinse out the conditioner and get out of the shower.
- Apply a leave-in of your choice for an extra dose of moisture.
- Smooth a curl-enhancing cream onto your hair in sections.
- Spray a heat protectant onto your strands.
- Get your blow dryer and pop a diffuser attachment onto it.
- Turn the blow dryer on and set it to low to medium heat.
- Flip your head over and pool your curls into the diffuser attachment.
- Push the blow dryer upward toward your roots and wiggle it so it doesn't heat up any section of hair for too long.
- Continue with step 11 for at least 10 or 20 seconds, then move to another section of hair.
- Repeat steps 10, 11, and 12 all over your head until your hair is 90% dry.
- Let your hair air-dry the rest of the way.
Tips for Success When Diffusing Curly Hair
Following the steps we gave in the last section will be helpful to you when drying your curls with a diffuser. But there are several ways people slip up during the process.
Keep these tips in mind to ensure that your diffusing session goes off without a hitch:
- Diffuse hair in sections to make it easier to work and ensure you won't miss any spots.
- Don't let the diffuser sit on any section of hair for longer than 10 or 15 seconds at a time.
- Lean towards whichever side you're diffusing to lift your roots.
- Don't move the diffuser around too much. It can cause unnecessary frizz.
2. Plop to Save Time on Drying and Minimize Frizz
Do you want to banish frizz and preserve your curls' definition? Then you need to start plopping! It's a method of drying that involves wrapping your wet tresses in a microfiber towel or an old cotton T-shirt and creating a turban on top of your head.
You'll leave the towel on your head for 15 to 30 minutes to draw excess moisture from your curls without disrupting their shape or causing them to frizz up. This means quick-drying hair and better curl definition.
To plop your hair:
- Start by placing a microfiber towel or t-shirt on a flat surface.
- Flip your head upside down and position your curls in the center of the cloth.
- Begin wrapping the shirt or towel around your curls, twisting the ends into a knot at the nape of your neck.
- Leave the turban in place for up to a half hour before unwrapping it gently and letting your hair air-dry. You can also diffuse as needed.
Plopping is particularly beneficial for those with thicker, coarser curls who struggle with prolonged drying times and pesky frizz.
By cutting down on your drying time and keeping your strands contained during the process, you'll be left with defined, bouncy curls that look salon-fresh. But you don't need thick, coarse curls to benefit from plopping - it's great for all hair types.
3. Air Dry for Minimal Manipulation and a Hands-off Approach
If you're looking for something a little more hands-off, air-drying might be ideal for you. All it requires you to do is wash, condition, prep your hair for a style, and then wait for it to dry.
Don't touch or manipulate it in any way while it dries. Depending on the length and thickness of your curls, it could take hours and hours for your hair to dry, but be patient – the result will be worth it!
If you hate how long it takes to air-dry your hair, you can break out your diffuser. Just apply a heat protectant first and use a low heat setting.
The major downside to air-drying curls is the time it takes, but if you want to minimize hair manipulation and heat usage, feel free to take this route.
4. Towel Dry with a Microfiber Towel for Gentle, Quick Drying
Here's another simple way to dry curly hair. Simply towel dry your hair, starting at the ends and moving up to the roots, using a microfiber towel.
Microfiber towels are gentle on curly hair and will help you avoid any frizz or breakage that could occur from rough bath towels. After towel drying, proceed with the rest of your hair care routine. You can find microfiber towels on Amazon for a very low price.
5. Blowdry with Comb Attachment to Stretch Curls
Not every hair-drying method is for preserving your curl definition. Sometimes, you'll need to stretch your curls before straightening. In such a case, you can dry and stretch your curls with a blow dryer with a comb attachment.
Here are the steps to follow for this method:
- Wash, condition, and detangle your hair. The detangling step is incredibly important here. If you leave behind a bunch of knots and tangles, combing through your hair with the comb attachment will be difficult.
- Towel dry your hair with a microfiber towel so it's no longer dripping.
- Spray a heat protectant on your damp, clean hair.
- Use your fingers or a comb to distribute the heat protectant through your hair and remove any last tangles.
- Separate your hair into four sections and secure each one with a clip or elastic band.
- Put the comb attachment on your blow dryer and turn it on. Medium heat and medium to high speed is a good starting point.
- Go section by section, combing through your hair with the blow dryer.
- Finish things off by slathering your hair with an oil of your choice.
- Style your hair as desired.
Note: Blowdrying your hair in this manner regularly isn't the best thing for damaged hair. The combination of heat and tugging on your hair with the blow dryer will likely worsen any existing damage. So, try not to dry your hair this way too often. And whenever you do, take a good, honest look at the condition of your hair first to ensure that it can handle the manipulation and heat.
- How to Towel Dry Hair
- How to Dry Hair Without Blow Dryer
- How Long Should You Be Under a Hair Dryer
- Flash Drying
So, there you have it - everything you need to know about how to dry curly hair. We hope you found all the information you needed, and we wish you the best as you continue to care for your curls. Happy styling!


