Just because you got a relaxer doesn't mean you can’t experiment with curly hairstyles. You’ve just got to make sure that you have the right products to achieve the look you want.
In this article, we will share several products and our favorite hair tips and techniques that you can use at home to create beautiful voluminous curls on your relaxed hair.
Table of Contents
Do a FlexiRod Set
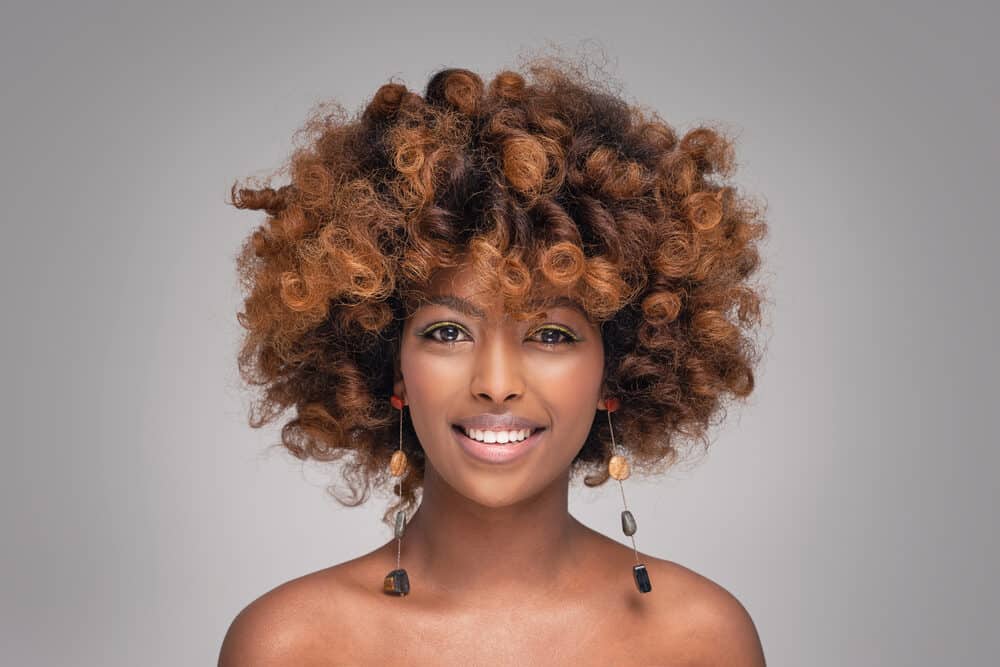
Flexi rod sets create beautiful spiral curls that elevate any look. Flexi rods, which are flexible foam rollers, come in a ton of different sizes, giving you the freedom to create huge, loose, beautiful curls, medium-sized spiral curls, or even tight ringlets.
This pack of Flex Rods has 70 hair curlers in seven different sizes, making it the perfect starter pack to inspire creativity.
If you're not experienced in using Flexi Rods, you may find them challenging to work with, but after some practice, you'll become a pro.
Here's how to use Flexi rods to create curls on relaxed hair:
- Wash, condition, and moisturize your hair first. You can also blow dry your hair if you’d like to get sleeker results, but this is optional.
- Part out a small section of hair and clip the rest out of the way with alligator clips.
- Apply a styling mousse or cream to your hair for hold and hydration.
- Hold the section of hair taut and place the Flexi-Rod on top of the hair.
- Begin wrapping the bottom third of your hair around the Flexi-Rod repeatedly until you run out of hair.
- Hold the rod on each side and begin twisting it upwards until it's flush to your scalp.
- Bring both ends of the rod together until they cross over.
- Repeat this process for the rest of your head.
This video will show you how to apply flexi rods to your hair.
Try a Braid-out
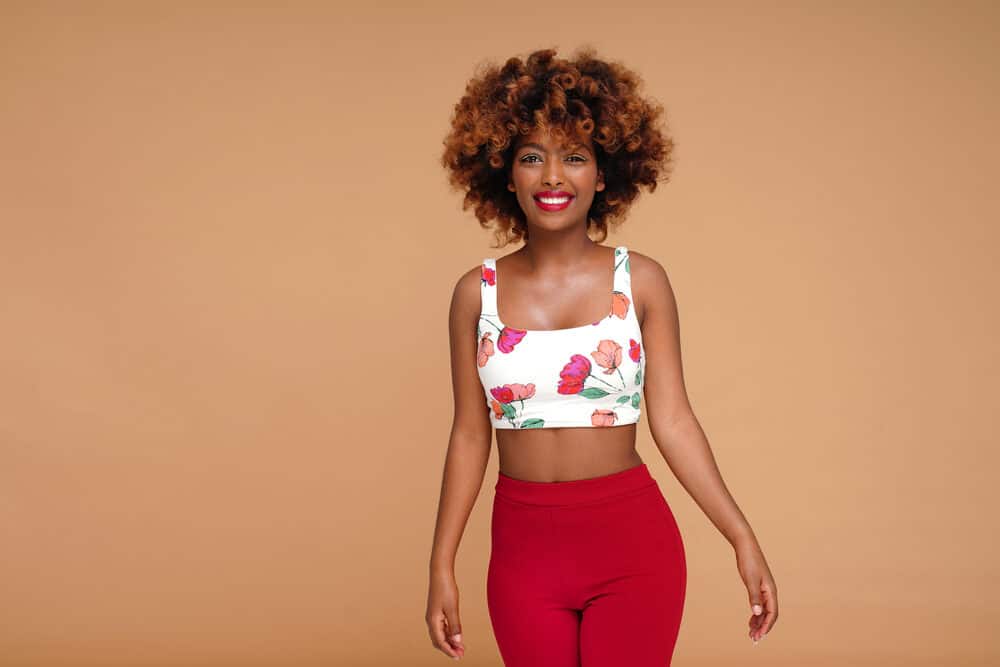
Braid-outs are a go-to for women everywhere, whether they have natural hair, transitioning hair with opposing textures, or chemically relaxed hair.
The technique requires you to braid your hair, leave it to set, and then take the braids out to reveal stunning curls.
For a successful braid-out, you'll need products that give your hair hold without weighing it down or making it look oily.
We encourage you to check out these awesome products for your next braid-out:
- Maui Moisture Flexible Hold Mousse - This is a natural curl foam/mousse formulated without silicones, parabens, or alcohols. The best thing about this mousse is that it'll leave your hair lightweight, flexible, and smooth.
- Design Essentials Almond and Avocado Mousse - This mousse by Design Essentials is another excellent choice for your next braid-out. It's quick-drying, hydrating, and will give your braid-out sleekness and shine.
Set Your Hair with CurlFormers
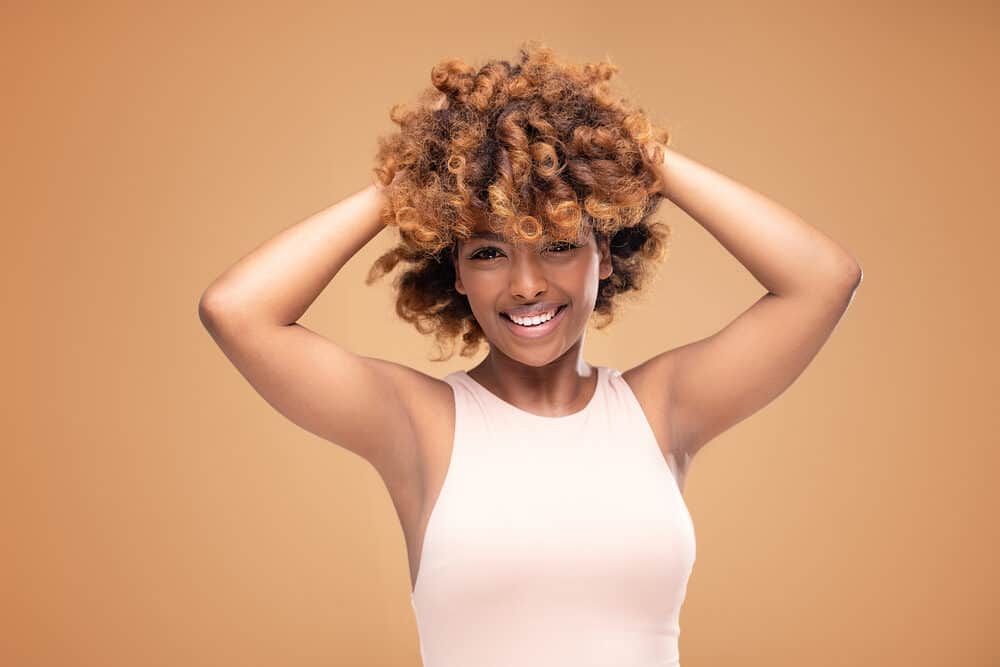
Another heat-free way to add curls to your relaxed hair is to do a CurlFormer set. CurlFormers are plastic mesh hair curlers that curl your hair overnight.
There are several types of CurlFormers on the market, including CurlFormers (Spiral), CurlFormers (Barrel), and CurlFormers (Corkscrew).
All of these CurlFormer sets come with the CurlFormers (of course), a hook to thread your hair through the curlers' opening, and a carrying bag.
If the original CurlFormers are out of your price range, you can choose an off-brand version of the curlers for a fraction of the price. Many women find that the off-brand curlers have the same effect as the genuine CurlFormers, so they're a great alternative to consider.
How to Use CurlFormers
It takes a bit of finesse to get good results using CurlFormers, so we'd like to give you step-by-step instructions on how to use them on relaxed hair:
- Start by washing, conditioning, and moisturizing your hair.
- Part your hair into four equal sections and clip all of them out of the way with alligator clips.
- Choose a section and then part out a smaller section of hair – 1-inch sections or smaller work best.
- Apply some styling mousse or cream to the section you just parted and comb it through with a fine-tooth comb or Denman brush.
- Grab a CurlFormer and stick the hook through it completely until it comes out on the other side.
- With the hook facing upward, put your hair inside the hook and then move the hook upward until it's at the roots of that section.
- As you hold the CurlFormer near the root of your hair, pull the hook through the CurlFormer until it's out.
- Release the Curlformer.
- Repeat the process all over your head.
- Allow your hair to air-dry completely, and then remove all of the CurlFormers by stretching them out and pulling them downward.
Watch this video to find out how to use CurlFormers to create curls on straight hair.
Use Perm rods
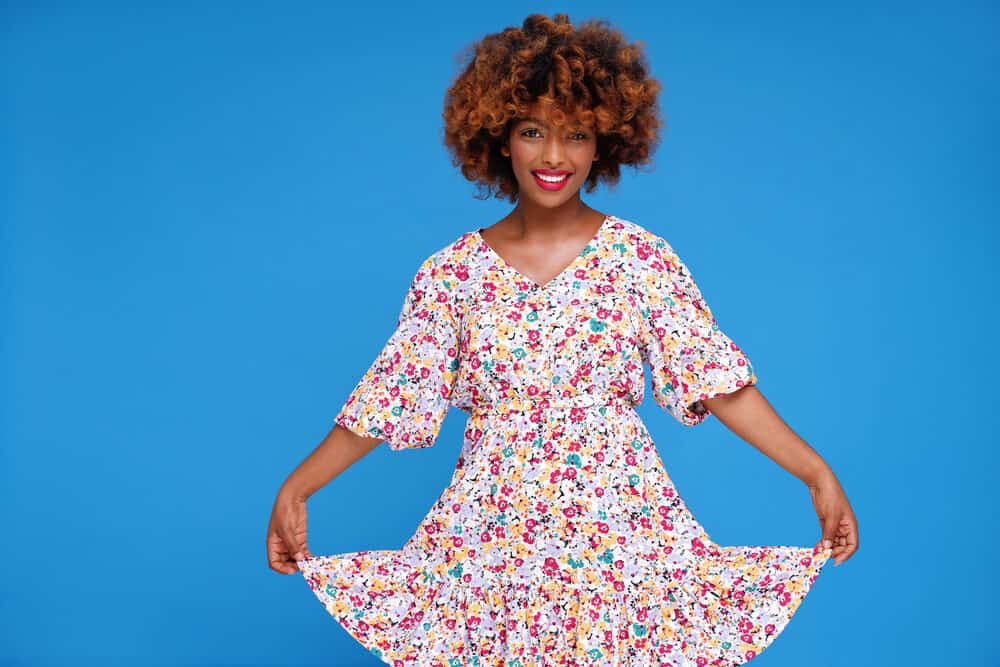
Perm rod sets are another effective way to add curls to your relaxed hair. Perm rods are plastic curling rods that snap on quickly thanks to their rubber band closure.
Just like flexi rods, perm rods come in a wide variety of sizes, allowing you to experiment with different curl sizes. The set of 40 perm rods is a smart buy, given that you get four different sizes to choose from to create a variety of styles.
How to Use Perm Rods
Here's how to use perm rods on your relaxed hair:
- Start with clean, moisturized hair.
- Part your hair into several sections (4 to 6 work best).
- Part out a one-inch section and apply your styling mousse or cream. Make sure that the hair is thoroughly saturated.
- Comb through the section with a fine-toothed comb or Denman brush.
- Hold your perm rod about halfway down the section and begin to wrap the ends of your hair around it. Don't stop until you've run out of hair.
- Take a few seconds to make sure that the hair you just wrapped around the rod is perfectly smooth. This will minimize frizz.
- Twist the perm rod upward until you reach the roots of your hair.
- Secure the perm rod using the rubber band that's hanging down.
Here's a video tutorial to help you learn the perm rod wrapping technique.
Limit Heat Tools on Relaxed Hair and Natural Curls
We advise against using heat tools (flat irons, blow dryers, curling irons, etc.) too often, but when used sparingly with a heat protectant, the chances of hair damage are minimized.
Using heat tools is the quickest way to achieve curls on your relaxed hair. Here are a few heat tools to explore:
Parwin Pro Curling Iron Set
Parwin Pro Curling Iron Set: This is a tourmaline ceramic curling wand with 7 barrel attachments, which makes your styling options endless. We like this heat tool because it allows you to control the temperature: set it from 170 degrees to 450 degrees Fahrenheit. Keep the heat as low as possible to reduce the chances of heat damage.
Hot Tools Curling Iron and Wand
Hot Tools Curling Iron and Wand: If you're not into fiddling with a bunch of attachments, then you'll love this curling iron/wand from Hot Tools. It produces even heat and comes with a comfortable grip handle.
CHI Spin N Curl
CHI Spin N Curl: For a hands-off approach to curling your relaxed strands, you can give the CHI Spin N Curl a try. All you do is put a section of hair into the machine, and it curls your hair for you.
- How To Do Flexi Rod Curls
- How to Big Chop at Home
- How To Do Wash and Go on Natural Hair
- Why Was My Hair Curly When I Was Younger?
Conclusion
With all the products on the market, you have a plethora of options for adding curls to your relaxed hair. We hope our product recommendations and tips will make the DIY styling process painless, faster, and more effective even if you're not a licensed cosmetologist.

