
If you cut your own hair, sharpening your clipper blades is one of the most valuable skills you can learn. Although they sell replacement hair clipper blades, they can be expensive.
Luckily, sharpening your clipper blades only takes a few minutes and is very cost-effective! So, if you want to learn how it's done, just read on!
This article will walk you through everything you could possibly need to know about how to sharpen hair clipper blades. Ready to get started? Let's dive right in!
Table of Contents
- 1 Here's How to Sharpen Clipper Blades
- 1.1 Part 1. How to Sharpen Any Clipper Blade Professionally
- 1.2 Part 2. Hollow Ground vs. Flat Sharpening
- 1.3 Part 3. Hollow Ground With Sand Paper
- 1.4 Part 4. Custom Clipper Blade Magnets to Sharpen Any Blade
- 1.5 Part 5. How to Sharpen, Modify. and Restore Clipper Blades
- 1.6 Disassemble Your Clippers
- 1.7 Clear Off the Dust and Debris
- 1.8 Test Your Clippers
- 1.9 Sharpen the Blades
- 1.10 Clean and Oil the Blades
- 1.11 Reassemble Your Clippers
- 2 How Do You Sharpen Hair Clippers Without a Stone?
- 3 Should You Clean Clippers After Every Use?
- 4 How Do You Know if Your Clipper Blades Are Dull?
Here's How to Sharpen Clipper Blades
Sharpening your clipper blades may be a little tricky at first. But it won't take long for you to get the hang of things. Once you do, you'll wish you had learned how to do it earlier! We'll break down the steps below.
Part 1. How to Sharpen Any Clipper Blade Professionally
Part 2. Hollow Ground vs. Flat Sharpening
Part 3. Hollow Ground With Sand Paper
Part 4. Custom Clipper Blade Magnets to Sharpen Any Blade
Part 5. How to Sharpen, Modify. and Restore Clipper Blades
Note: The video series below demonstrates sharpening clipper blades with and without a sharpening stone. It was created by a YouTuber named keepitsharp357. For those that prefer written instructions, we've also provided a detailed step-by-step below.
Disassemble Your Clippers
To start, unplug your clipper blades and lay them on a table. You don't want them to turn on accidentally, so disconnect the power cable or remove the batteries.
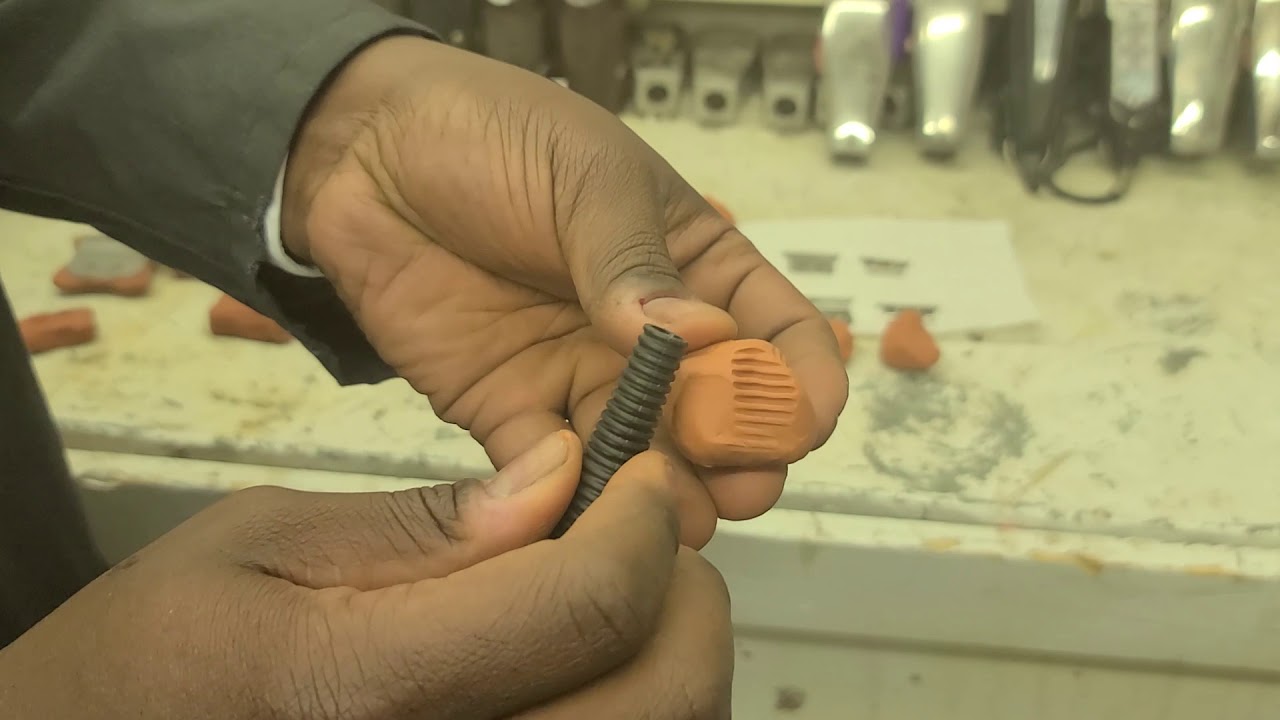
Use a screwdriver to remove the screws that are holding the blades together. If you're having a hard time getting the bottom blade off, you can use tweezers to dislodge it.

Clear Off the Dust and Debris
Using a cleaning brush or an old toothbrush, gently dislodge as much hair, dirt, and debris as possible. After every few minutes, spritz the brush with an antibacterial spray to prevent cross-contamination. Although it may feel excessive, this step will prevent your chances of infection and scalp irritation.
Test Your Clippers
A lot of clippers are self-sharpening. So, if you have a pair of self-sharpening clippers (i.e., includes an auto-sharpening feature) that weren't functioning correctly, there's a chance that they just needed a thorough cleaning.
Reassemble your clippers and add a few drops of hair clipper oil to the blades. Most clippers come with clipper oil.

Turn them on and let the blades run for a few minutes. The blades will scrape against each other and remove any imperfections. Afterward, try the clippers on your hair. If they're still dull or tugging at your strands, move on to the next stage.
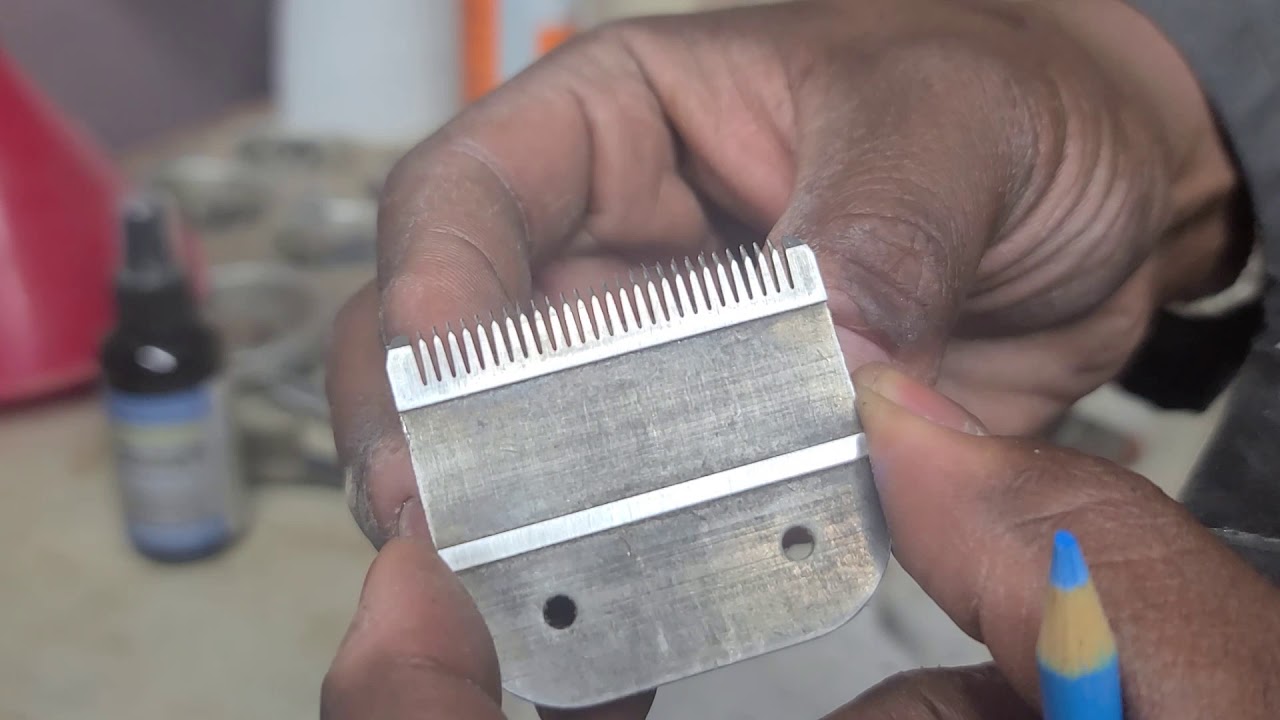
Place the blade on your sharpening stone. The key is to lay the blade flat and run it back and forth with gentle, even pressure.
After ten or so passes along the stone, your blade should be perfectly sharp. Once you finish the first side, flip the blade over and sharpen the back.

Clean and Oil the Blades
Wipe the blades down with either soapy water or rubbing alcohol until you don't see any more debris. That will help remove any residue from the stone or metal and keep your clippers running smoothly.
Dry the blades with a cloth to remove the water or alcohol residue.
Next, smear a thin layer of maintenance oil onto the blades to help prevent rust and keep the machinery running smoothly. Then, blot away the excess oil.
Reassemble Your Clippers
Next up is the trickiest part of this process. Now that your clippers are clean and sharpened, it's time to put the pieces back together. Trace your steps back to reassemble your clippers.
Take your time, and ensure the blades are properly lined up. Don't tighten the screws until you're sure everything is aligned correctly.
Remember, you just sharpened the blades, so be careful handling them. Once your clippers are back in one piece, add one last drop of oil to the blades.
Before cutting your hair, turn on your clippers and let them run for a few seconds to ensure everything is working as usual.

How Do You Sharpen Hair Clippers Without a Stone?
By far, whetstones are the best way to sharpen your clippers. But we get that not everyone has one on hand. Luckily, there are a few other things you can use to sharpen your blades.
We'll take a look at them below.
- Sandpaper - Extra fine grit sandpaper is an excellent alternative to a whetstone. The only downside is that sandpaper is exceptionally lightweight. Lay it on a flat surface, and make sure it doesn't move around while you're scraping your blade.
- Emery cloth - Emory cloth is an abrasive paper material that is well suited to sanding metal. Like sandpaper, you'll have to choose an extra fine grit and lay the cloth on a perfectly flat surface.
- Aluminum foil - Although it's not the best option, you can sharpen your clipper blades with aluminum foil in a pinch. This method creates a ton of metal shavings, so wipe down the blades with a cloth before you reassemble the clippers.
Should You Clean Clippers After Every Use?
A good pair of clippers can be expensive, so naturally, you want to protect your investment. It is essential to clean, brush, and oil your clippers after every use.
Taking a few minutes to do this will help ensure your trimmers and clippers stay sharp and work well for years. And since the dirt, hair, and debris won't have time to build up, cleaning them will be quick and easy!

How Do You Know if Your Clipper Blades Are Dull?
Regularly sharpening your clipper blades is necessary if you want them to work well. Clean, sharp blades cut your hair effortlessly and create an even cut.
Additionally, regularly sharpening your blades will extend the life of your clippers.
This is because dull blades slow your motor down and cause it to work much harder. Eventually, your clippers may even stop working due to the strain on the motor.
The easiest way to determine if your blades need to be sharpened is to pay attention to how it's performing. Dull blades will catch on your hair and tug on your strands.
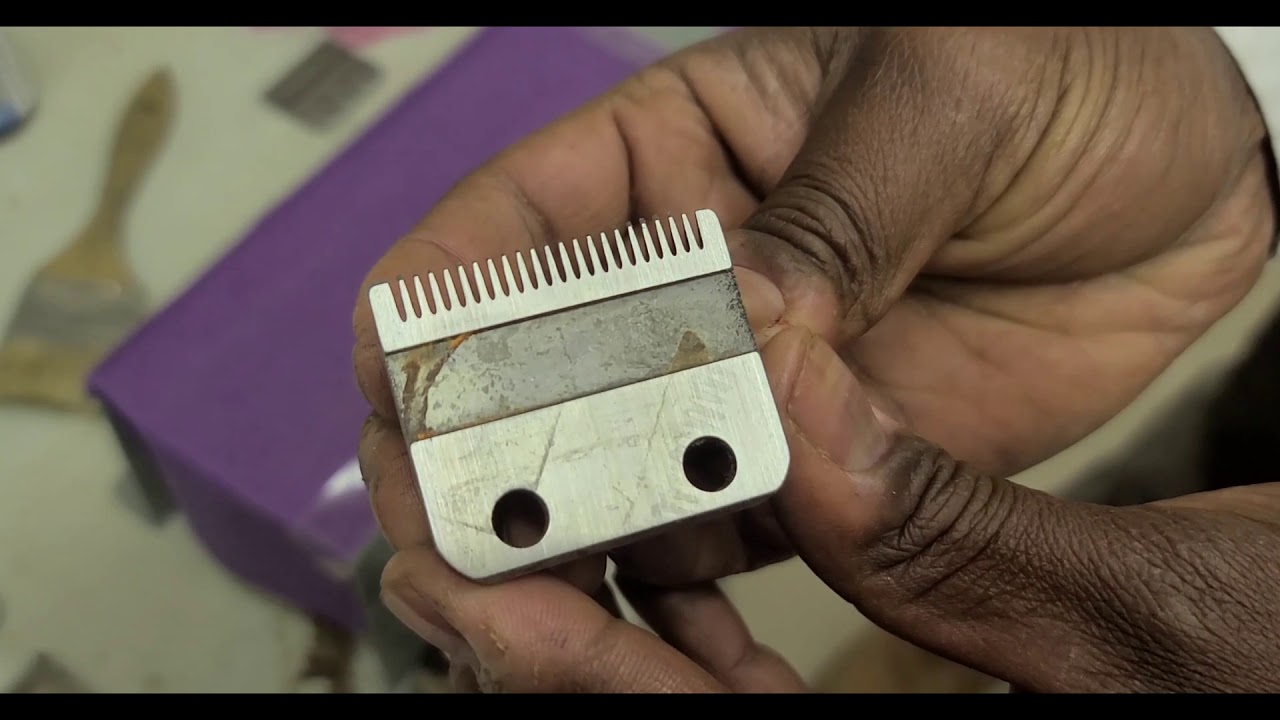
You can also do a visual assessment to see if your blades are worn. Once you disassemble your clippers, examine the blades. Look for nicks, dull edges, and chips that need to be buffed away.

How Often Should Clipper Blades Be Sharpened?
If you clean and oil your clippers regularly, the blades should last up to five uses. However, this is with exceptional care. For most people, clippers blades only stay sharp for two to three uses.
So, you should sharpen your clipper blades after every two to five uses or as soon as you notice that they aren't functioning normally.
Keep in mind that this is for regular blades. Self-sharpening blades do an excellent job of sharpening themselves and don't usually need to be sharpened.
How Long Should Clipper Blades Last?
The lifespan of clipper blades varies, depending on how often they're used and how well they are maintained. As long as you care for them properly, clipper blades should last for at least six months to a year. Some people are able to get years of use out of their clipper blades, especially if they are high-quality.

Do Self-Sharpening Blades Last Forever?
Self-sharpening clippers have a metal strip along the length of the clippers. Every time the blade is dragged against this honing blade, it gets sharpened.
So, any chips and nicks are automatically repaired, and your clippers will work like they're brand new. Although the self-sharpening feature keeps your blades sharp, it doesn't replenish the actual metal.
So over time, the metal blade will keep wearing down until it eventually needs to be replaced. The good news is that this typically takes years to happen.
Keeping your clippers sharp will prevent ragged, uneven haircuts and keep your hair and scalp safe. It'll also make cutting your hair faster and easier, so it's definitely worth the effort. We hope that this article has given you the information you need to sharpen your blades the right way!


