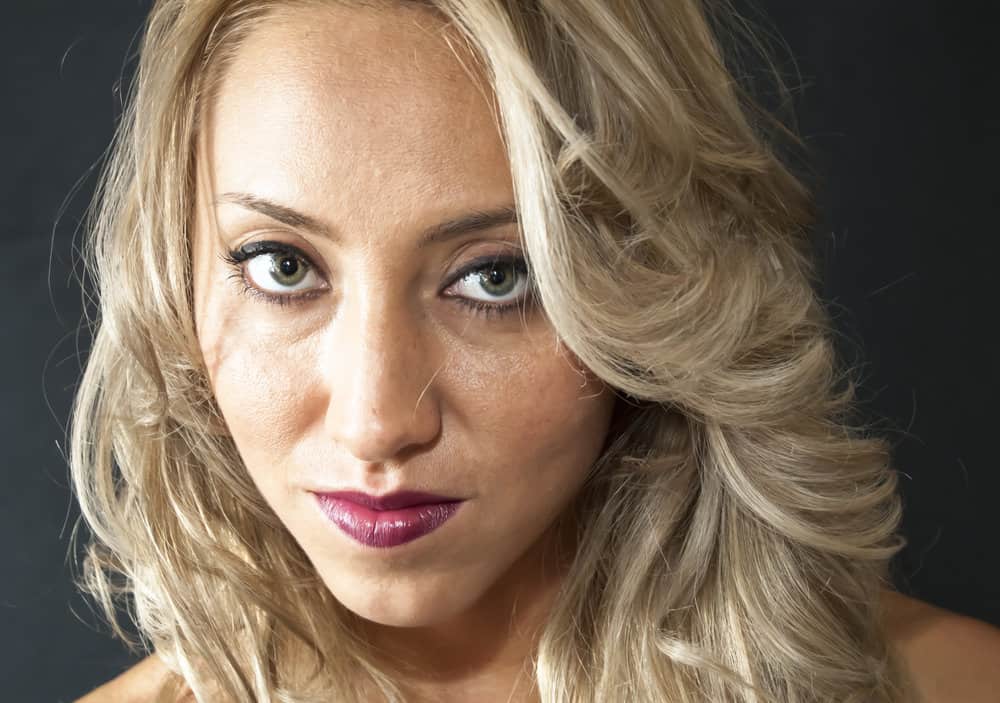
Feathered hair is one of those hairstyle trends that refuses to die, and we couldn't be happier about it! Feathered hair has a 70s vibe that is equal parts stylish and timeless, and people all over are trying it to upgrade their overall look.
If you want to try a feathered haircut, we say, "do it!"
But don't get started until you read this article to the end. In it, we'll tell you how to feather hair in a 70s style and answer all your questions so you can get the best possible results. Let's get right into it!
Table of Contents
Settle on a Feathered Hairstyle
The first thing you will need to do is figure out what type of feathered hairstyle you are going for. Are you looking for long feathered hair with wispy waves near the ends? Or short feathered hair with choppy layers throughout your hair's length?
Do you want it to be subtle or more noticeable with feathered bangs? Take some time to browse magazines, websites, and photos of other people's feathered hairstyles to get an idea of what you like.
Get Your Hair Cut in Layers
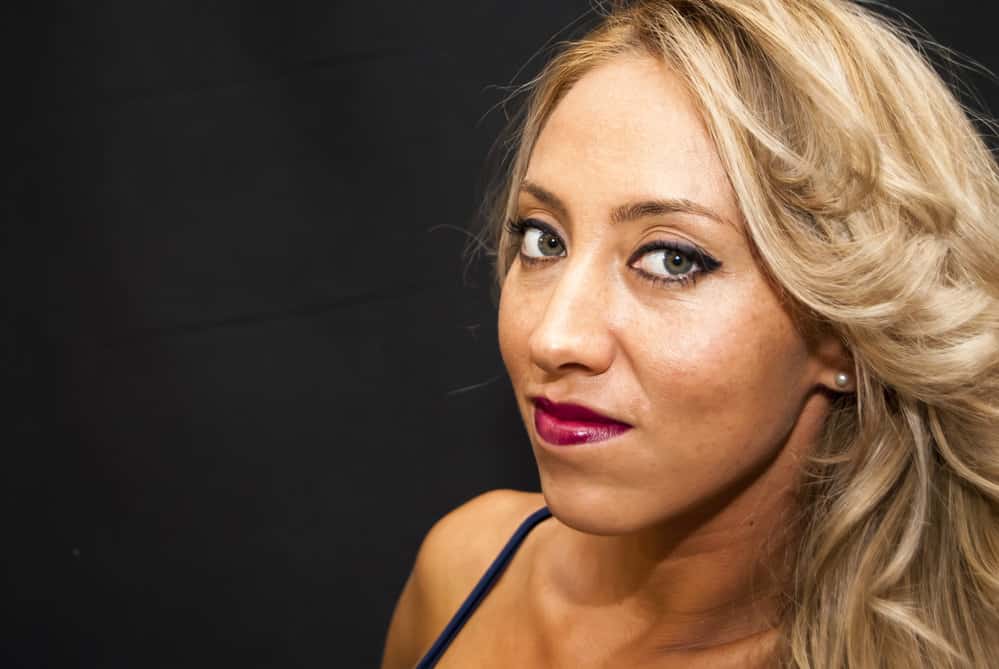
Once you figure out the type of feathered hairstyle you want, it's time to visit your local salon for a trim. Ask your stylist for feathery layers.
It's usually best to have them do shorter layers on top and longer ones on the bottom, but you can show them a picture for reference.
You can also cut your own hair in layers if you're feeling up to the challenge.
A good pair of hair-cutting shears and a steady hand will help you achieve the perfect feathery look at home.
Note: This step is optional - you can get feathers without super-defined layers. Though, your feathers won't be prominent. If you're looking for more subtle feathers, you can skip to the next step.
Wash and Condition Your Hair
Before you start the styling process, you'll need to make sure your hair is properly prepped. Wash and condition your hair to make sure it's clean and hydrated. After the wash, it'll be more voluminous and malleable, making it easier to feather.
Start with your favorite shampoo. Apply it to your wet hair and scrub your scalp with the pads of your fingers. Rinse thoroughly and repeat if necessary.
Follow that up with a nourishing conditioner. Apply it to the ends of your hair and work your way up to the mid-lengths.
Avoid your roots - conditioner can easily weigh them down. Let the conditioner sit for a few minutes before rinsing it out. This is a great time to detangle your hair - break out your detangling brush and get rid of any knots from ends to roots.
Stretch Your Hair with a Blow Dryer
Now it's time to blow-dry your hair. If your hair is tightly curly, we recommend using a blow dryer with a concentrator nozzle. Holding the blow dryer a few inches away from the hair, dry your curls as you brush through them with a paddle brush.
If you'll be using a heated blow dryer setting, apply a heat protectant beforehand. It will help protect your hair from heat damage and preserve your curl pattern.
Part Your Hair
Decide on the type of part you want - side part, center part, deep side part, zig-zag, etc. If you want the most prominent feathers, go with a middle part.
Either way, the type of part you choose will determine how you feather your hair. Once you decide on your part, use the straight side of a rattail comb to part your hair as you envisioned.
Prep Your Hair for the Feathering Process
Begin by sectioning your hair off into 4 equal sections - 2 in the front and 2 in the back. Then apply a flat iron serum to your strands and comb through.
Then, apply some heat protectant and comb through your hair once more. Your hair is ready for the flat ironing process.
Straighten and Then Curl Your Hair
If you have a flat iron, that's ideal. It can straighten and curl your hair simultaneously. If you don't, you'll need to get your hands on one. For textured hair, you'll need to first get your hair sleek with a flat iron.
Only then will you be able to get sleek feathers.
So, begin flat ironing your hair straight section by section. The smaller the sections, the easier it will be to get your hair straight. Try not to do more than one pass on any one section.
After all of your hair is straight, you'll curl the ends to create a feathered effect. To do so, you'll grab medium-sized sections of hair and curl each of them.
- For the front: Clamp the flat iron down on the roots and curl the hair away from your face. To create the curl, after clamping down on the section, you'll turn your wrist in the direction that you want the curl to go. The tighter the curl, the more you'll turn your wrist.
- For the back: The curls in the back of your head won't be nearly as tight as the ones in the front. So, you won't turn your wrist as much as you did while curling the front sections.
Finish Things Up
Once all of your hair is curled, you'll finish things up by running your fingers or a wide-tooth comb through your curls from front to back.
You should see your feathers coming through. After you're satisfied with the look, apply a light-hold hairspray to keep your style in place.
It's crucial that you choose a holding spray that offers a flexible hold - not a super stiff one. Mega hold sprays will inhibit your hair's ability to move, and that's not what you want. You're all done!
Dos and Don'ts of Feathering Hair
Feathering hair will take some patience, practice, and strong adherence to the above instructions. But before you get started, let's get into some of the dos and don'ts of feathering hair to give you an even greater chance of success with this style.
Do
- Apply a heat protectant before using heated tools to preserve the health of your hair.
- Choose a light-hold hairspray to keep your style in place without making it too stiff.
- Use a concentrator nozzle when blow-drying curly hair to get your hair as sleek as possible.
- Detangle your hair during the conditioning process to minimize damage.
Don't
- Overdo it with conditioner - too much can make your roots flat.
- Use too much hairspray - it can make your hair look stiff and unnatural.
- Do more than one pass on a single section of hair when either straightening or curling your hair.

Note on Hair Health
As you may have gathered, the feathered look involves a substantial amount of heat. Though this look is gorgeous, it can take its toll on your tresses if you're not careful.
To protect your strands against breakage and other damage, ensure that your hair is very healthy before trying this style. You can also deep condition your hair beforehand to give your strands an added layer of protection.
And be careful of how hot you set your flat iron, too. Some flat irons go as high as 450 degrees, and if you have fine or damaged hair, it will definitely be too hot. Use the lowest effective heat setting.
With these tips in mind, you're ready to give feathering a try. We hope that the information above has helped you get a better understanding of how to feather your hair. Good luck with your future hair transformation!


